
The OneNote Class Notebook integration in Teams has quickly become one of the handiest places to store content for you and your students. The Class Notebook is made up of three different spaces: the Collaboration Space, the Content Library, and your own Personal Notebook. Information that is shared in the Collaboration Space in Class Notebook can be edited by both teachers and students. Any papers that used to be handed out to students for them to write on and use can be placed here, while any lesson notes or other content you would like to share with students without them editing can be placed solely in the Content Library section.
Don’t discount this Space, it can be beneficial to both you and your students if used correctly. Below, we cover how you can manage the Collaboration Space in Class Notebook through an example of using it for group projects.
Prep the Collaboration Space in Class Notebook for a Group Project
The Collaboration Space is a wonderful space for students to work collaboratively on projects in real time right inside Microsoft Teams.
To get started, we must set up the Collaboration Space in the Class Notebook for a group project. Log into your Microsoft EDU account in Teams and head into the Class Notebook section under the General Channel.
Watch this step-by-step tutorial to set up your ClassNotebook if you haven't done so.
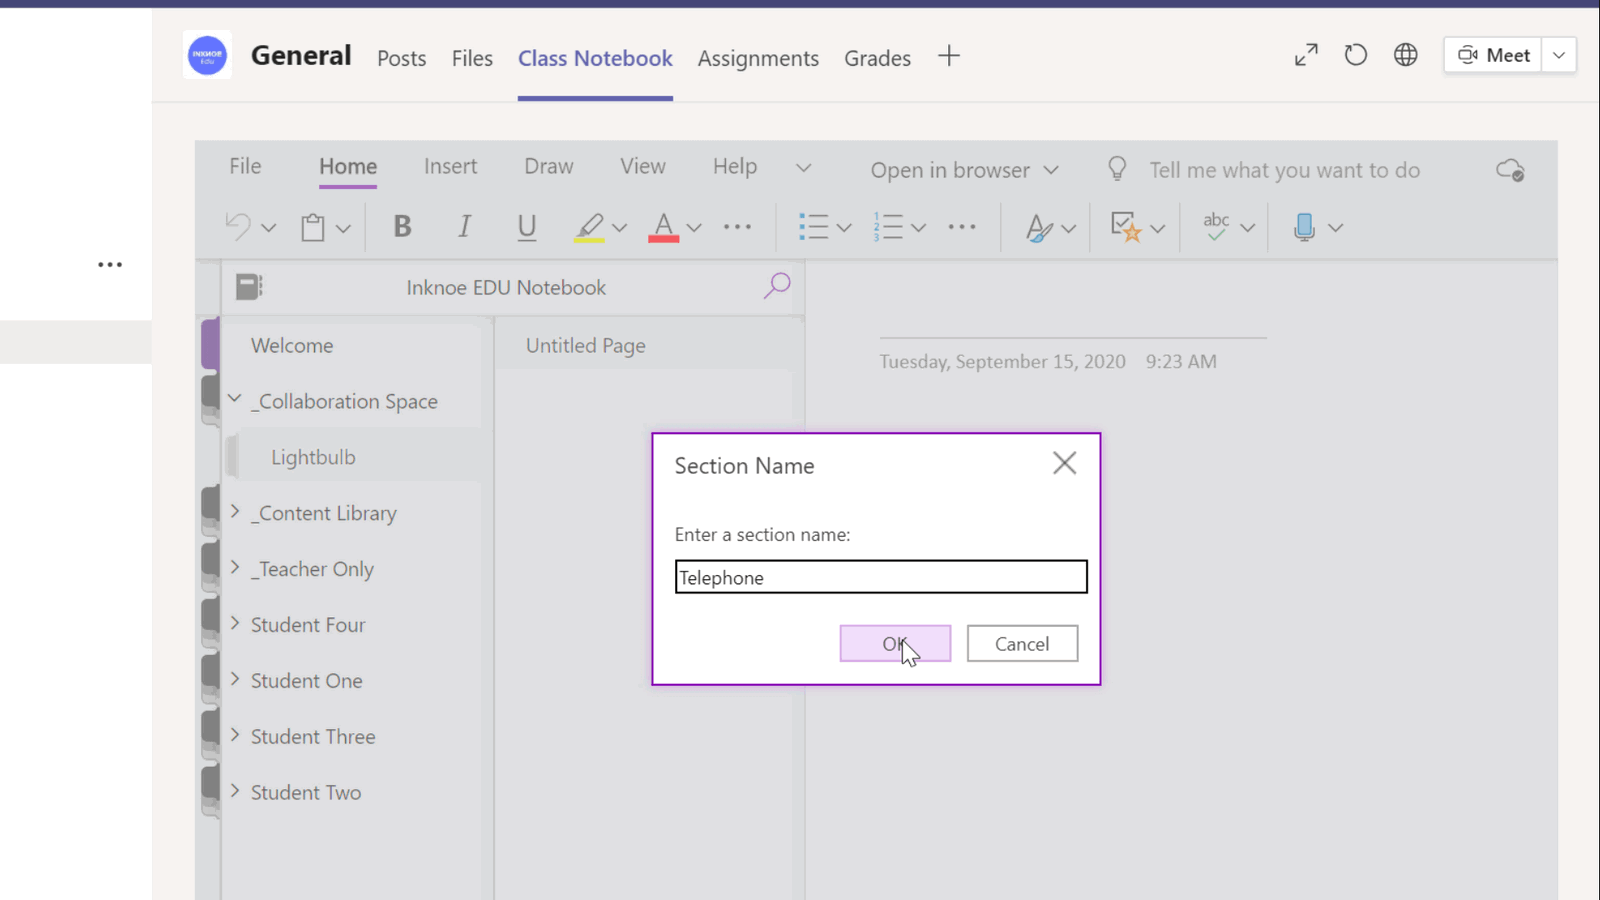
In your Notebook, navigate to the Collaboration Space. Create a Section for each group in your group project. Students can add their research to their assigned sections by adding pages inside. To avoid students adding pages to a section they are not assigned to, we can set up restrictions so that students are only allowed to edit one part of the Collaboration Space, not the whole space.
Manage Permissions in the Collaboration Space
Set up stricter rules in your Collaboration Space in Class Notebook by giving the students access to only their own group project section. This way, students will not mistakenly add information to the wrong group.
To do this, log into office.com. Find the Class Notebook App on the side tab or in the All Apps icon. From there, click on manage notebooks.
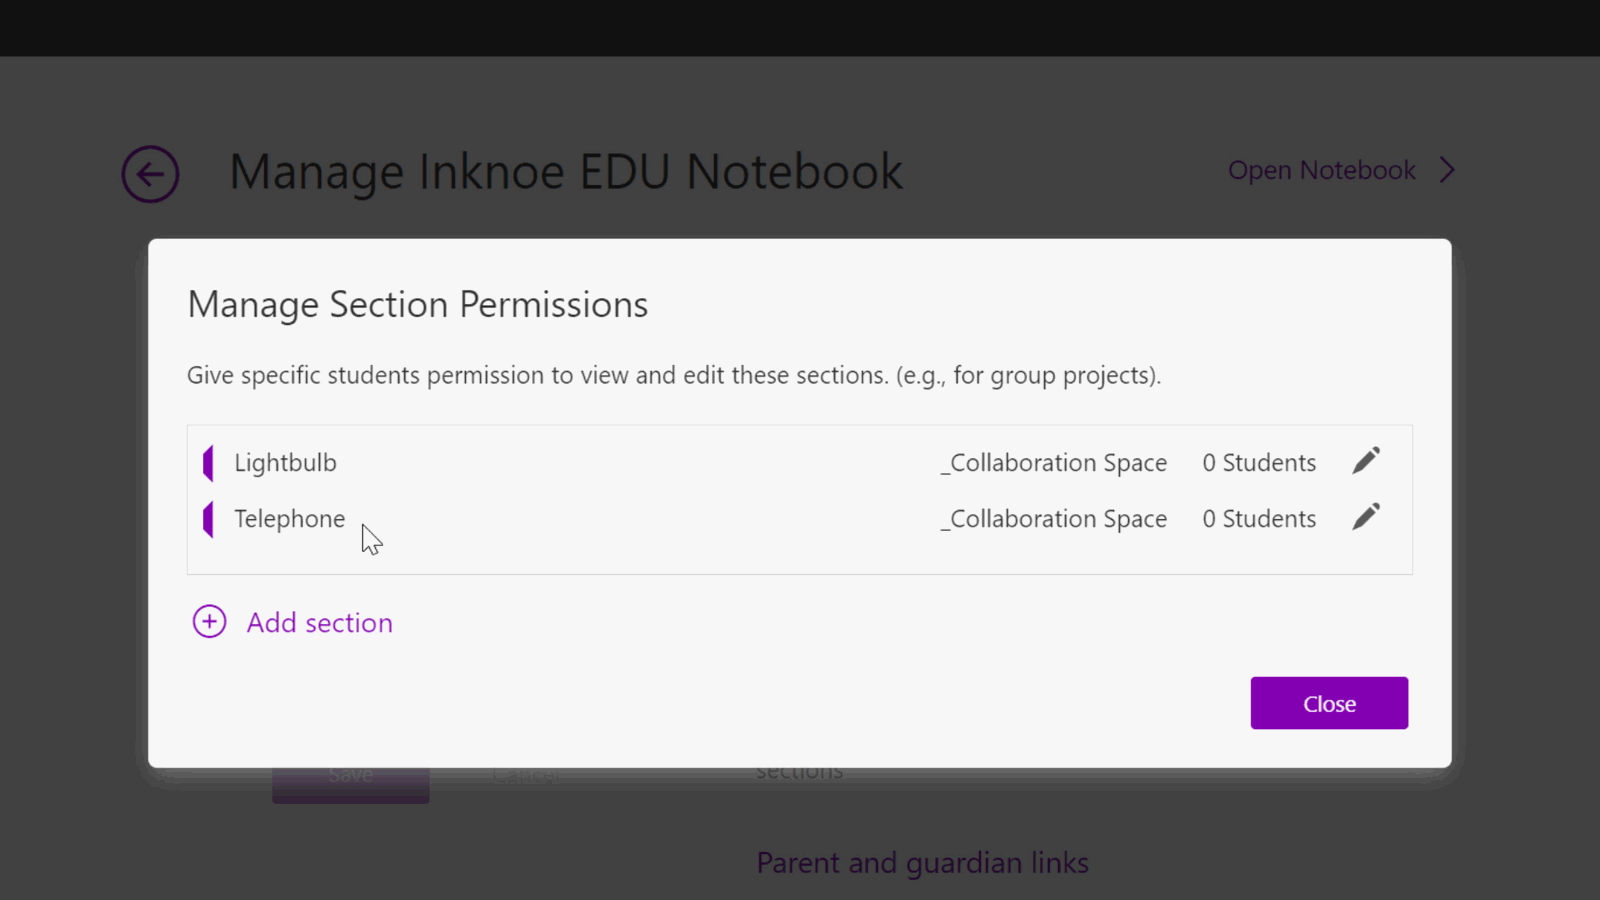
Now, we can edit the Collaboration Space Permissions. Click on one of the sections you have just created and assign specific students to that section. Now, they can both view and edit that section.
You can give read-only access to all students, but only those specifically assigned to that section can edit that space. When you have completed assigning all your students to a section, they can begin their work.
Reviewing Student Work in the Collaboration Space
When your students have completed their group project, you can review the work and track student participation.
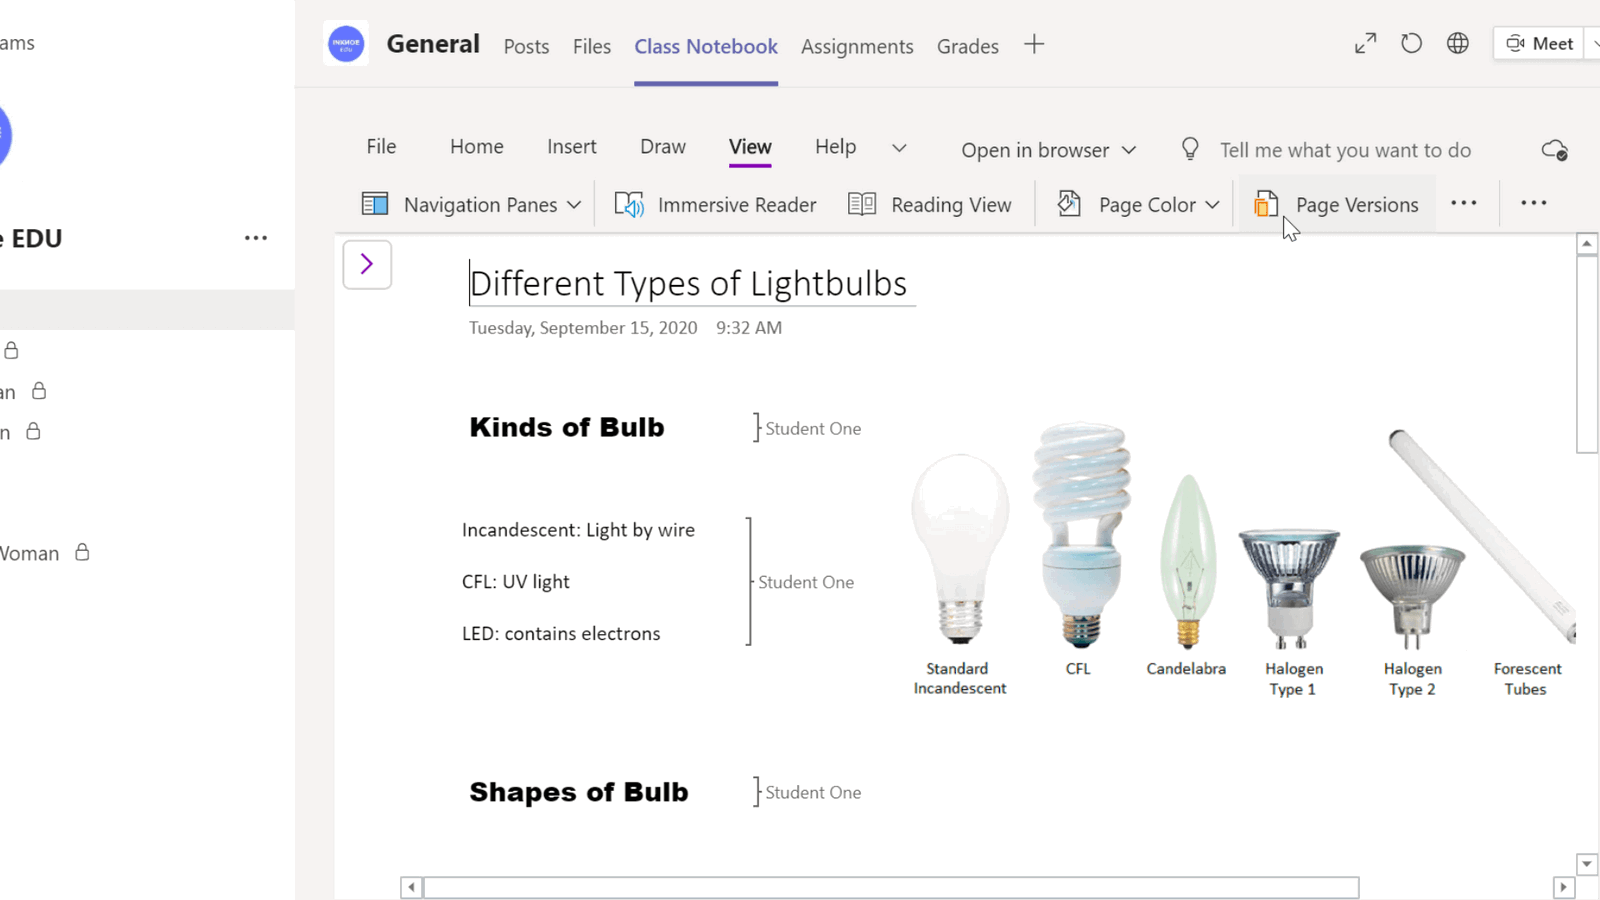
In the View tab on the top ribbon, click Show Authors. This will show you line-by-line which students have added what information to the page. This is a great way for you to hold your student accountable.
For a more detailed look at the student’s process, you can view the different page versions. Just click Page Versions and under that page in the Navigation Panel, you will see the previous versions of the same page.
Tip: When all the work is done in the collaboration space, you can lock it so that no one is allowed to add in more information. To do this, go to the Class Notebook tab in your notebook, hit the three dots on the right side, and then Manage Notebooks. Then, you can toggle off and on the Collaboration Space.
Summary of Helpful Hints
- Use the Collaboration Space in a structured way: Create sections for specific topics to keep information organized.
- Limit Access to the Collaboration Space: Manage the permissions of the Collaboration Space so that students can only edit certain sections.
- Hold your students accountable: View authors and different page versions to get a full understanding of students’ work.
- Toggle the Collaboration Space on and off: When the Collaboration Space is not in use, turn it off to disallow students from adding in random content.
Now, you know the best ways to use the Collaboration Space in OneNote’s Class Notebook. Hopefully, this will help you in the future of your online teaching journey!
For more help with Microsoft Teams, check out these articles:
- Step-by-Step Tutorial for Using Class Notebook in Microsoft Teams
- Creating an Assignment with a Class Notebook Page
- How To Use The Brand New Breakout Rooms Feature In Microsoft Teams
- How to Use Assignments in Microsoft Teams: Quick 12 Minute Tutorial for Teachers
- Create a Bitmoji Classroom in PowerPoint and Share in Teams for More Student Engagement
- Microsoft Teams for Online Teaching – A Guide for Teachers
