
During all these new teaching adjustments, video conferencing is here to keep teachers and students connected and learning. Online teaching with Teams can be used to conduct your courses online and also get in touch with your students. If you are already using Office 365, Teams is a great resource for continuing to teach face-to-face with your students.
Create your Teams Account
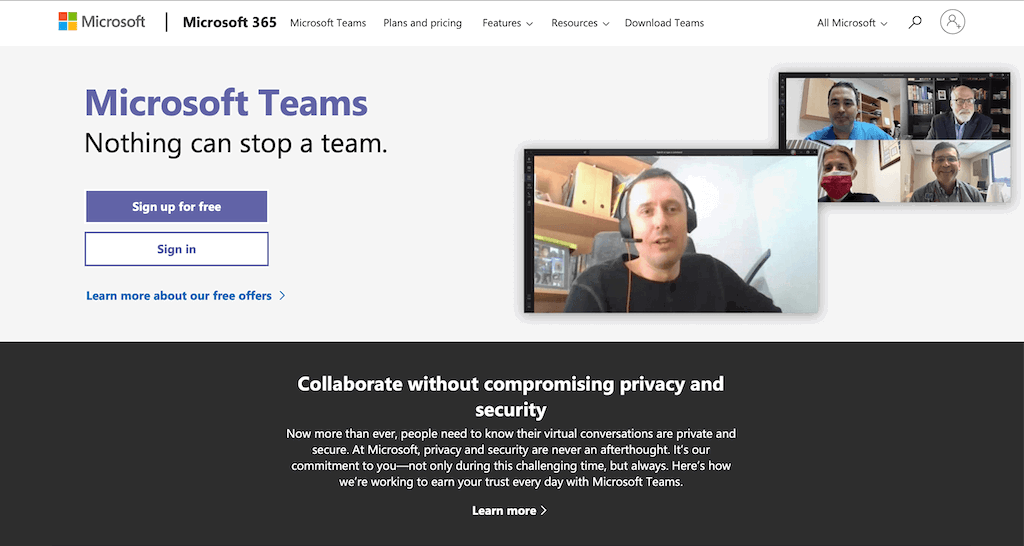
To use Teams, head over to teams.microsoft.com and sign in to your Microsoft account, or create an account for free.
If you are joining an existing organization you can sign in with your email from that organization. When you do this, you will be integrated right into their infrastructure.
If you are creating a new organization, once you have created your account, you can begin the setup. Once logged in, you can invite students to join your class by emailing them a link provided by Microsoft.
Teams Interface
There is so much that you can do within Microsoft Teams to collaborate and stay connected with your students.
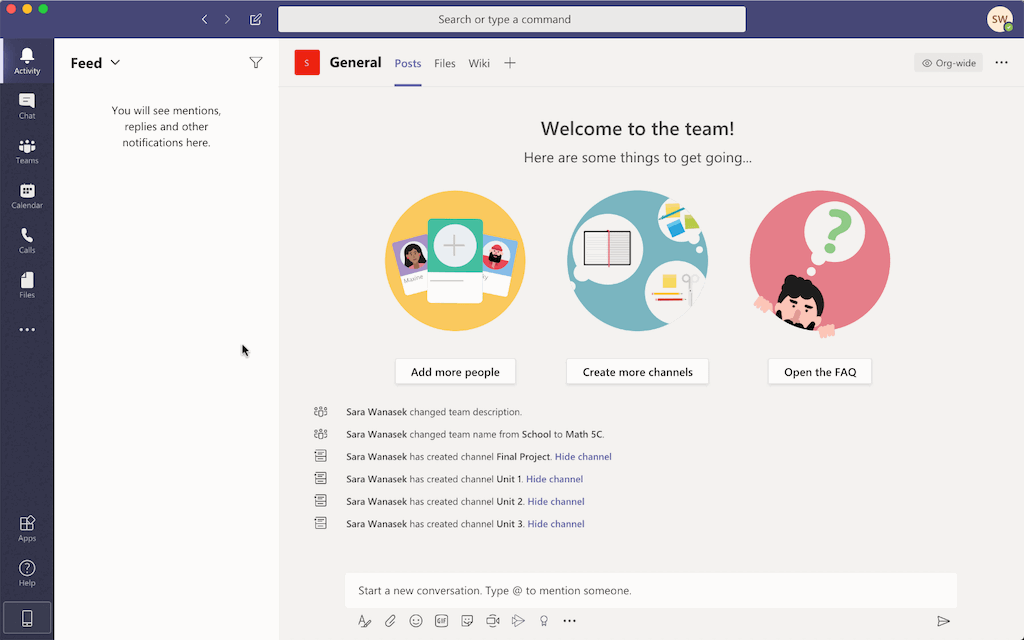
The bar on the left side is where you can navigate between each tab.
Activity: The first is the Activity tab. This houses everything that has occurred – all your calls, chats, and files that have been uploaded across all your teams.
Chat: The Chat tab has all the different individual conversations you have going on.
Teams: The heart of Teams is right here on the Teams tab. This tab is where you can connect and collaborate with your students at any time.
Teams are a collection of people, content, and tools surrounding different projects and outcomes within an organization.
Microsoft
Calendar: The Calendar tab is linked with your Microsoft account. This makes it is very easy to see your schedule and create any new meetings.
Calls & Files: The last two tabs are a record of your calls and files that have been posted across all your Teams.
Creating a Team
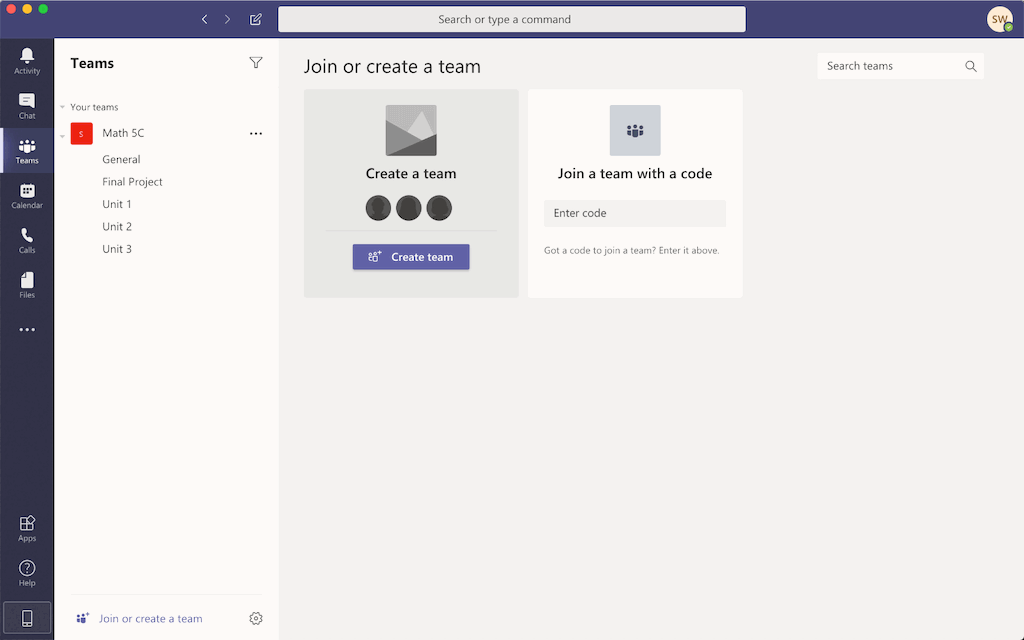
It’s a good practice to create Teams for online teaching. Head over to the bottom left of the page on the Teams tab to Join or Create a New Team. Give the Team a name and add your students by typing in their names or emails.
Now, your Team appears on your homepage. With the drop-down menu on the side, you can begin creating different Channels. You can have separate Channels that relate to certain topics. So, you could have a Team for your Math class, with a Channel about a big project coming up. When you are in a Channel you can make posts, add files, and videos.
You can create a video call right away with those in your team, right from the video call button on the bottom of your page. However, we suggest scheduling a call so you have a reminder on your calendar for the class.
Schedule a Meeting
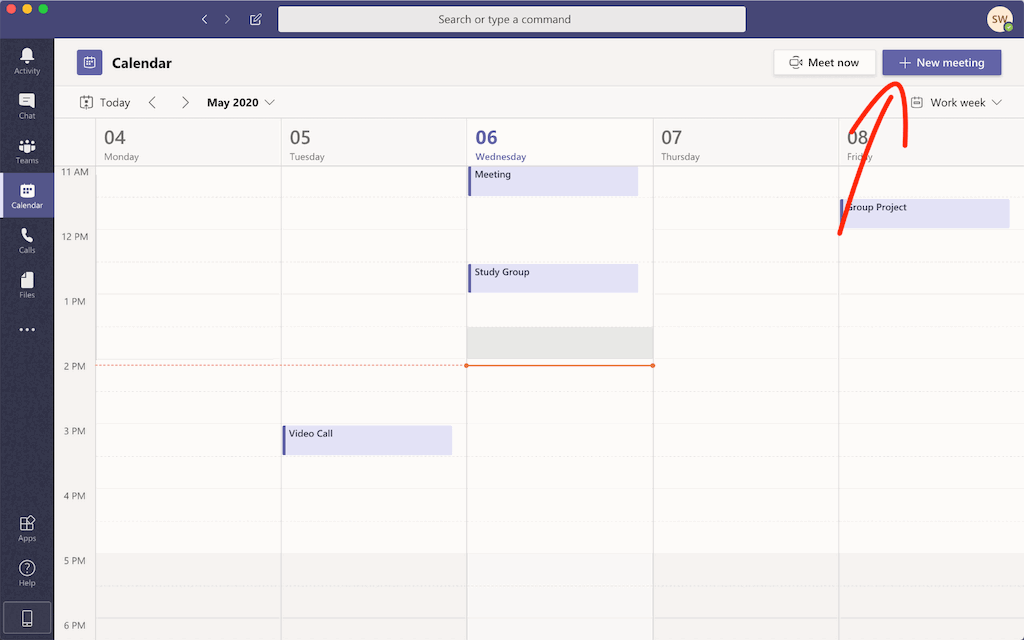
To schedule a class, you can click on the New Meeting button in the Calendar tab. Name the meeting, set it at the correct date and time, and fill out any other details before you save. You will also need to add your students’ emails into the Required Attendees section. Otherwise, you can easily add your whole class with the General channel from that team you want.
If you would rather send your students a URL from a different platform, you can get this link once your meeting is saved from the meeting details. On the top of the page under Meeting Options, there are some extra security options you can check out. For example, you have the option to be the only one who can present their screen.
Start your Meeting
When you are ready for your meeting you can just click Join from the Calendar. Before you enter the meeting, you can decide if you want your video and mic on or off to start with. When your video is on, you can choose to blur the background or set a virtual background to have a little bit of fun in your class.
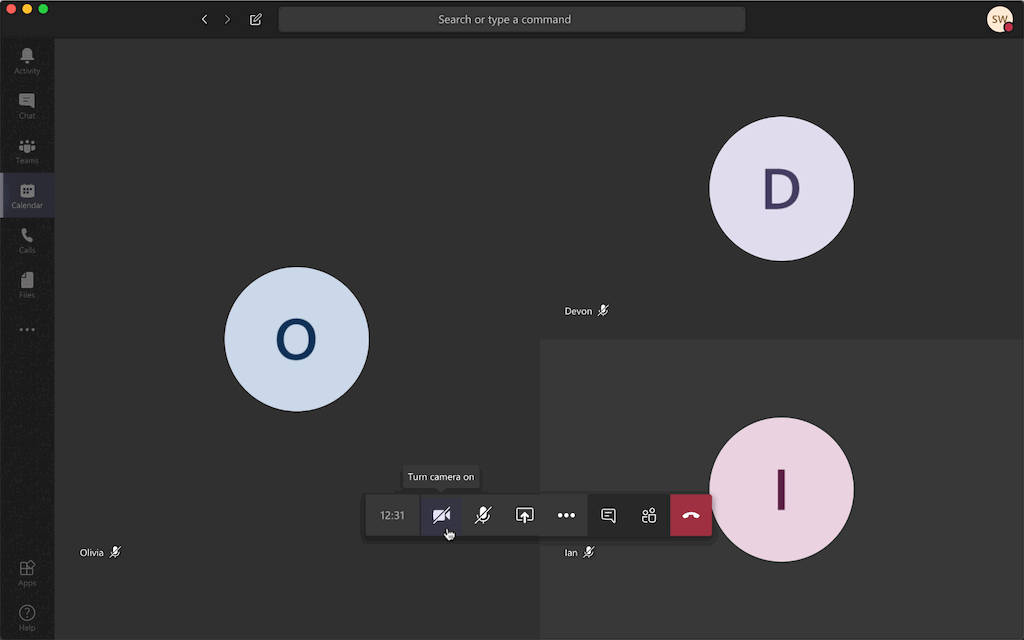
You will see your students on the screen once they have entered and also a toolbar at the bottom of the screen. The first two buttons on the toolbar allow you to turn off and on your camera and microphone.
The More Options button has different setting options for during your video. Some useful features here are the Turn on Live Captions and Turn off Incoming Video. Live Captions are a useful tool that transcribes what you are saying into text. You can turn off incoming video if you don’t want a bunch of distractions from when your students are joining the call at different times. You can also Record your class to share with your students later or to keep a copy of the lesson for yourself.
The Chat feature makes it possible for students to ask or answer questions. This way you are still able to communicate with your students during the call. This helps bridge the gap from what would be happening in the classroom to how differently class happens online.
Lastly, you have the Participant tab. You can invite other participants, and see which of your students have their audio muted or not.
Screen Sharing
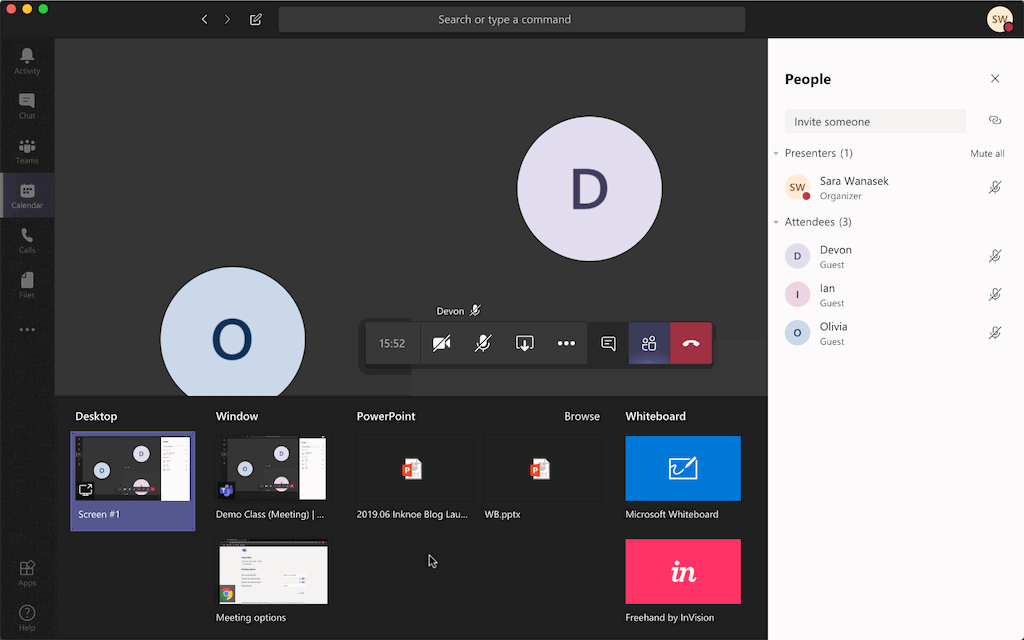
Being able to share your screen is an integral part of online teaching. With Teams you can share parts of your screen, the whole desktop, and even directly open PPT or other Microsoft files. Usually you will just share your whole desktop so that whatever you do on the screen, your students will see.
When you are sharing your screen a toolbar will appear at the top to allow you to give someone in your call control of the screen. In the bottom corner a box will appear that gives you the option to turn on or off your camera and mic and to stop presenting.
MS Whiteboard is also integrated into Teams so that if you need a blank page for brainstorming, problem-solving, or further explanations you have one handy. The Whiteboard that is integrated in Teams is a scaled-back version of the Microsoft desktop whiteboard application. If you want to use the whiteboard at full capacity you can just open the whiteboard application on your Windows machine and share that screen.
Bonus: Best ways to use Microsoft’s whiteboard for collaborative learning.
Upcoming Features with Teams
Creating a virtual background, chatting, and screen sharing are all features that Teams has to help with engaging your students. But, Microsoft doesn’t stop there. Soon they will release some new features, they will have a participant report so that teachers can see who was in their meeting and when they joined/left. With all these features, Teams makes online teaching easier for teachers and students to have class similar to ones that would be in person.
Related Topics
If you are interested in checking out other options for your online teaching needs, feel free to check out our tutorial guides for Google Meet and Zoom.
In addition, if you are looking for ways to keep your students engaged during video conferencing classes, check out how Classpoint can be used right along with Teams, Meet, or Zoom.
For more Teams related tutorials, we have guides on breakout rooms, assignments in Teams, Class Notebook, and a roundup of the best Teams tips and tricks.
Thanks for reading, and don’t forget to check out the links above!
