
Teaching online can be difficult when you no longer have the whiteboards or interactive screens to share your presentation on and that makes teaching come naturally. No more easily writing on your slides to expand ideas when needed and being contained to mouse movements.
Using a device with touchscreen capabilities would solve many of these issues. But not all teachers have access to a touchscreen device. Luckily, there is an inexpensive way to mimic having a touchscreen device – a drawing tablet! In this tutorial, I will show you step-by-step how you can use an easy-to-use affordable drawing tablet, One by Wacom, for online teaching with PowerPoint.
Tablet Specifics
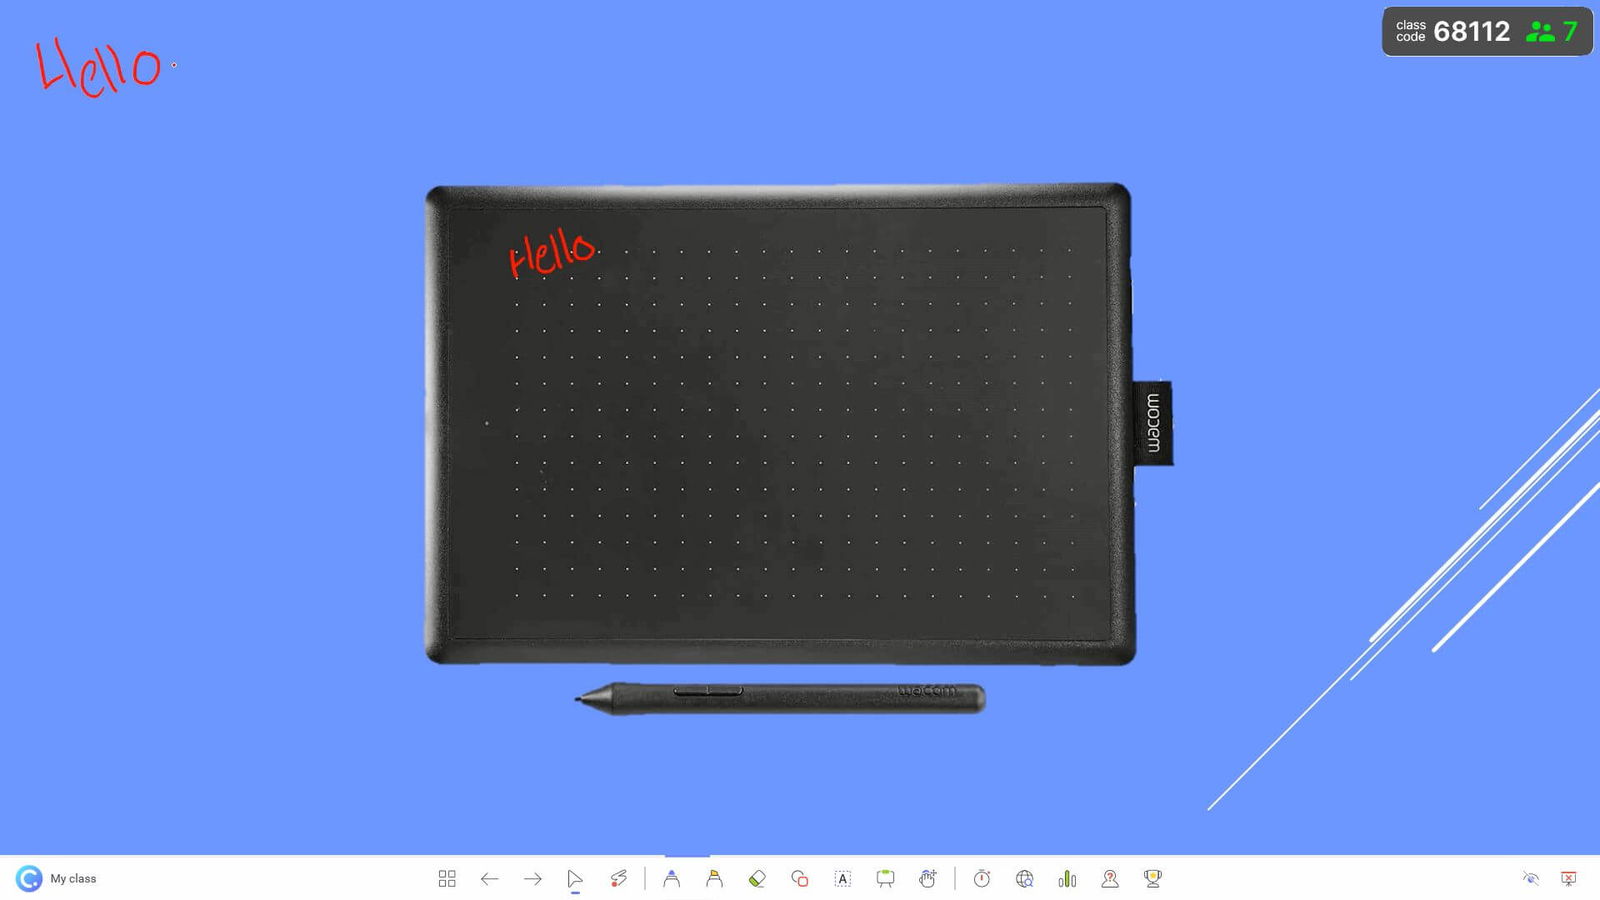
This specific Wacom tablet, the One by Wacom, is a blank tablet surface, almost like a larger mousepad. The area on the tablet corresponds to your screen while the pen acts as a mouse. Hovering the pen over the tablet can help you to find your place on the screen.
Beginning to use the One by Wacom for online teaching will take some getting used to, but the learning curve is quite small!
The tablet comes with a pen and a USB to connect the tablet to your computer or laptop. The pen has two buttons on the side that can be customized to the shortcut of your choosing.
A major pro of this tablet is the price point. There is no need to go for an expensive tablet to begin annotating on your existing device. The One by Wacom tablet can be found for around $60, vs the tablets that cost hundreds. These more expensive tablets are geared toward artists rather than teachers.
Because of its size, it’s super easy to transport, and with only needing to plug it in to begin using, setting it up is a breeze. Using it for the first time will require you to go to the Wacom website and download the driver, but that shouldn’t take more than 2 minutes.
Using the One by Wacom with PowerPoint
The Wacom tablet can be used to add annotations to your slides when you’re preparing your lesson, during your lesson, or if you need to jump on a call with a student to help explain a concept.
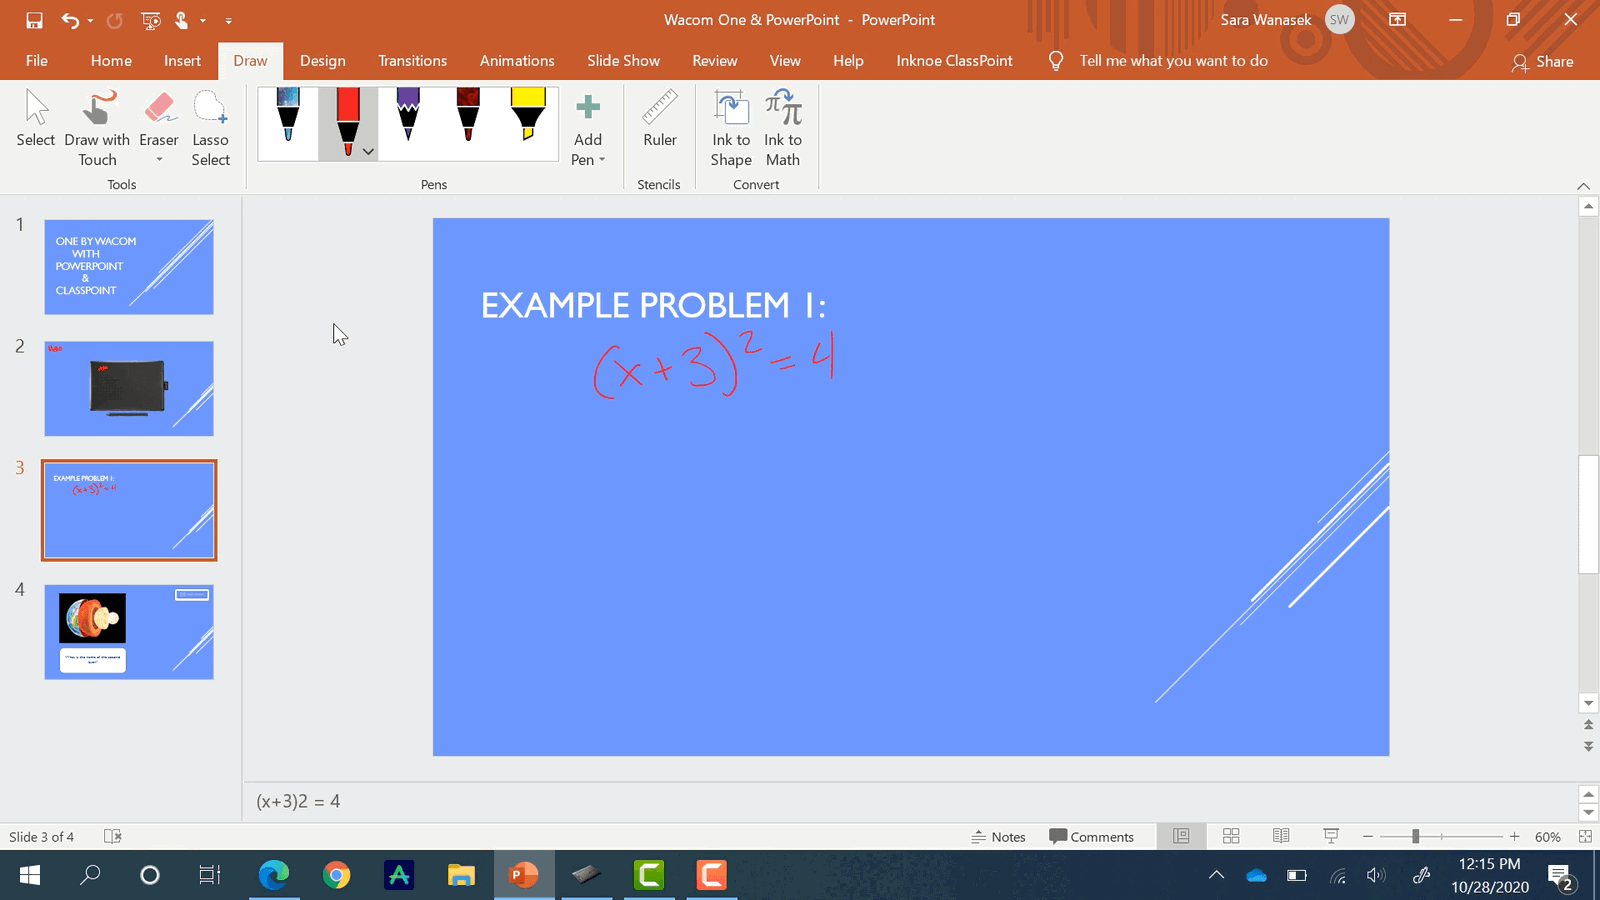
To add annotations on your slide before you begin your lesson, use the Draw tab in the PowerPoint ribbon, and choose your writing tool from the Pens section. Begin writing with the pen and the tablet! These annotations will stay on your slide when you go into Presentation Mode.
During your presentation, continue to use the pen to add notes to the slides as soon as it is needed. Without the tablet, annotations are added with a mouse, which usually takes much longer and looks messier, resulting in distracted students.
Annotations with ClassPoint
If you’d like to annotate your slides during your presentation, try using ClassPoint’s added annotation tools, which offer more options than PowerPoint does. ClassPoint is a free Microsoft PowerPoint add-in that adds other presentation and student engagement tools to your lesson.
Any device or writing tool can access the annotating features of ClassPoint, but the Wacom tablets make it so much easier than using a mouse to draw.
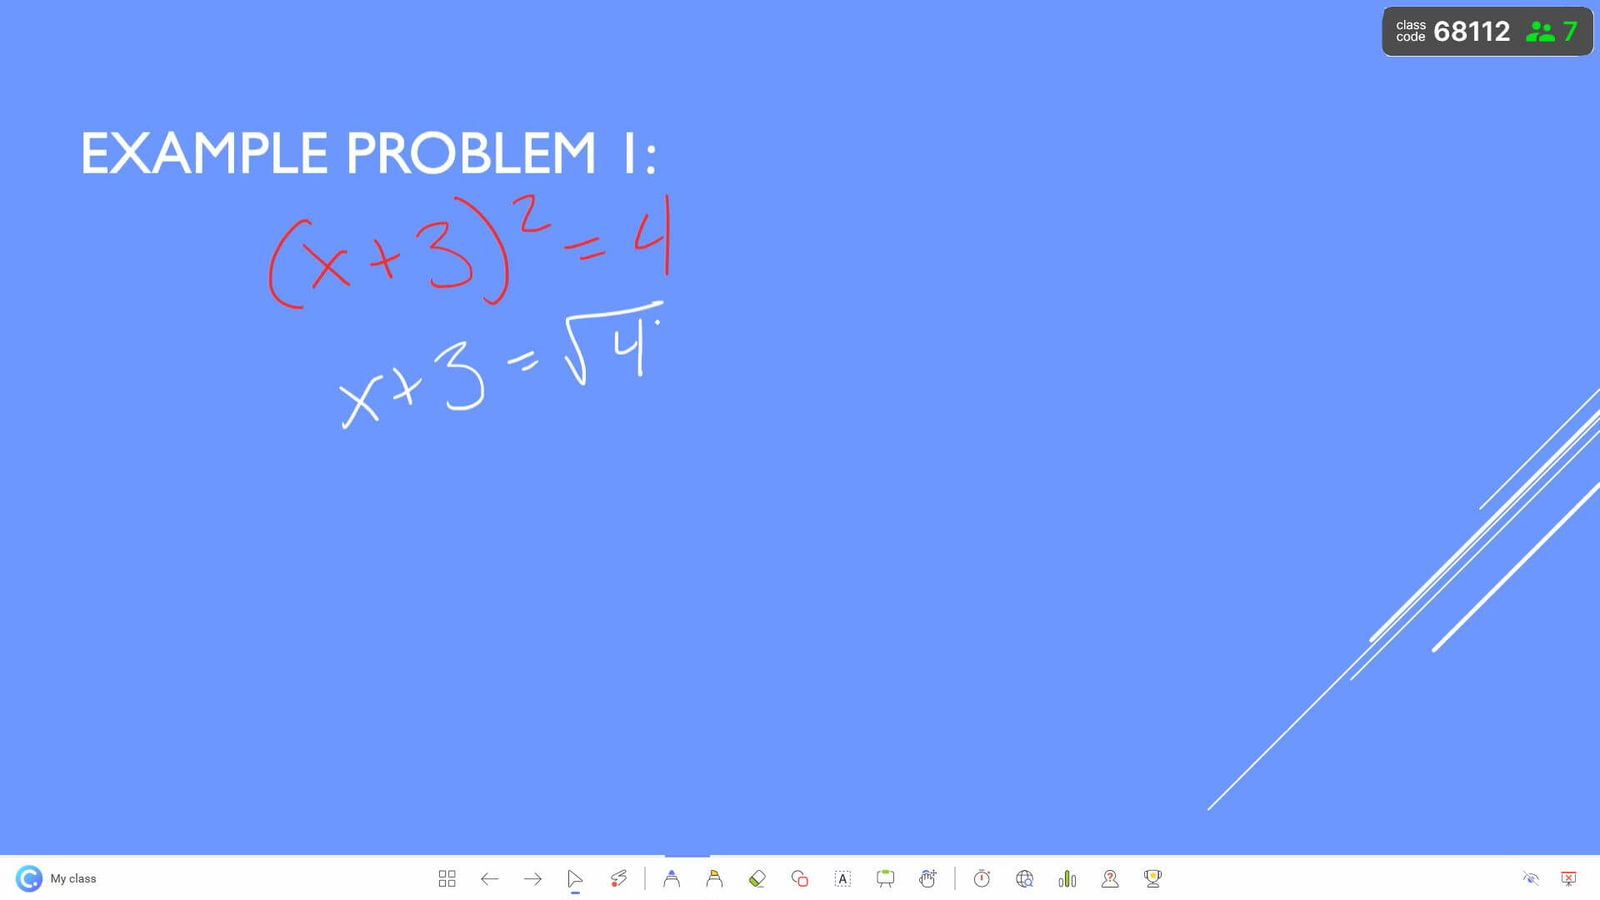
During your presentation, the ClassPoint toolbar will appear at the bottom of your slide. Click on the pen icon, change the color and pen thickness, and begin your annotations! Elaborate further with the highlighter and shapes, too.
Read more: How To Annotate PowerPoint Slides With ClassPoint
Add Whiteboard Slides to Presentations
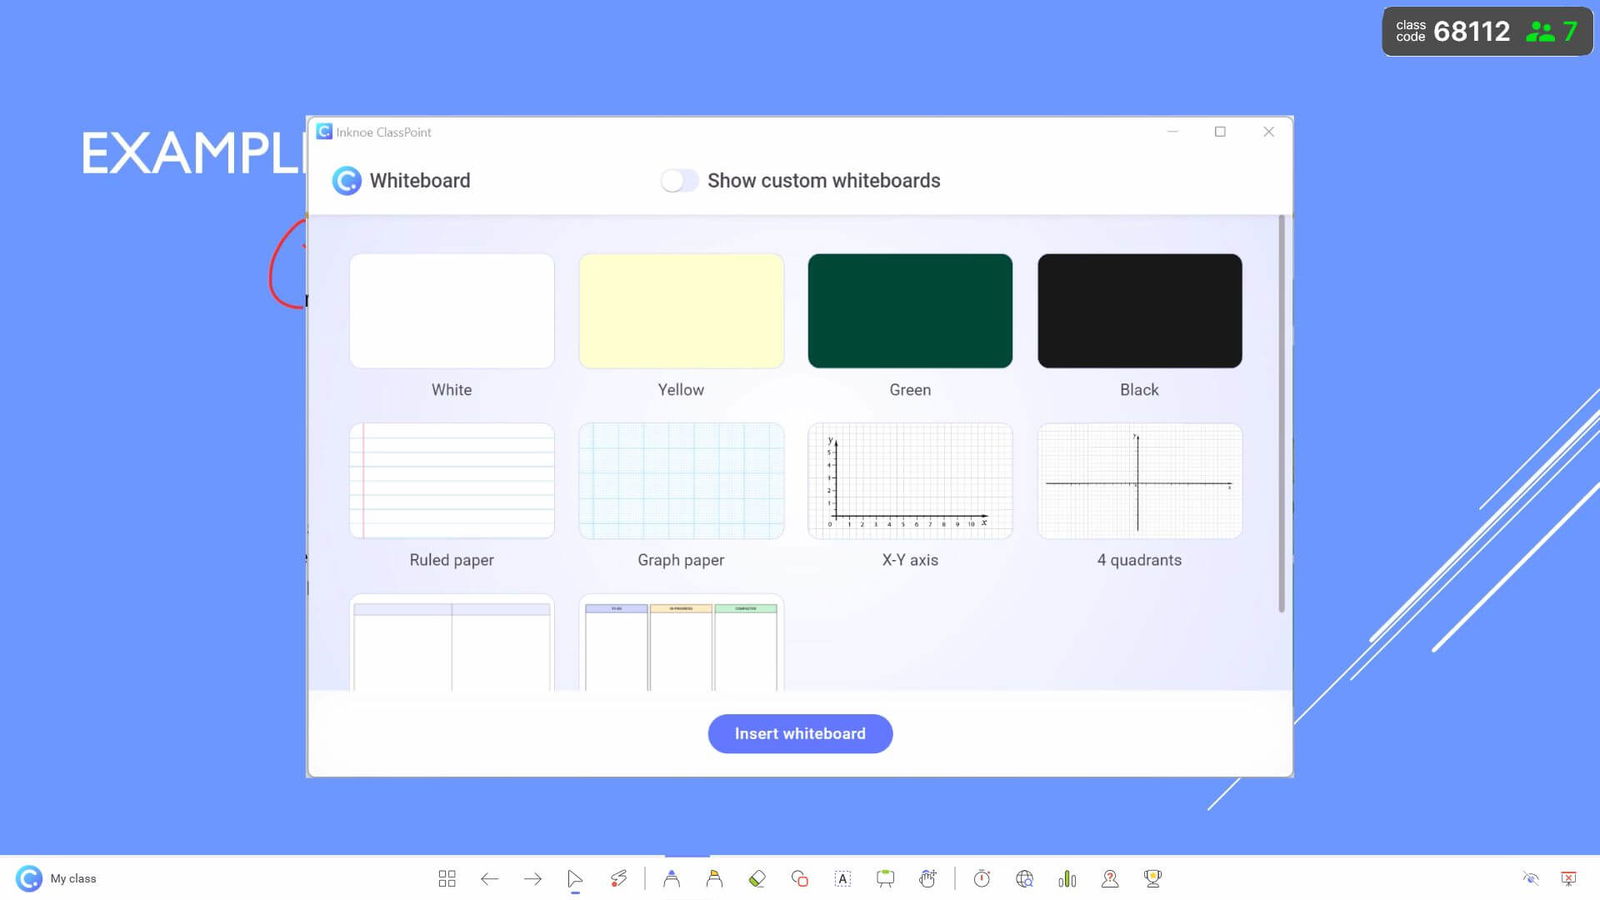
Often in presentations, more space is needed to explain class questions. With ClassPoint, you can easily add extra slides to your presentation to use as a digital whiteboard page. Click the Whiteboard icon on the ClassPoint toolbar. There are a few preset options, or click the toggle to view your custom whiteboards. These can be set up & changed back in PowerPoint Edit Mode in the Whiteboard Backgrounds button in the ClassPoint tab.
Once a background is selected and inserted into your presentation, the discussion can begin and annotations made on the slide to continue to engage students during the lesson.
Transforming your PowerPoint slides using One by Wacom in conjunction with ClassPoint will help you teach as intuitively as you did in the classroom.
Tips for Using the One by Wacom for Online Teaching
Tip 1: Customize the two side buttons on the pen.
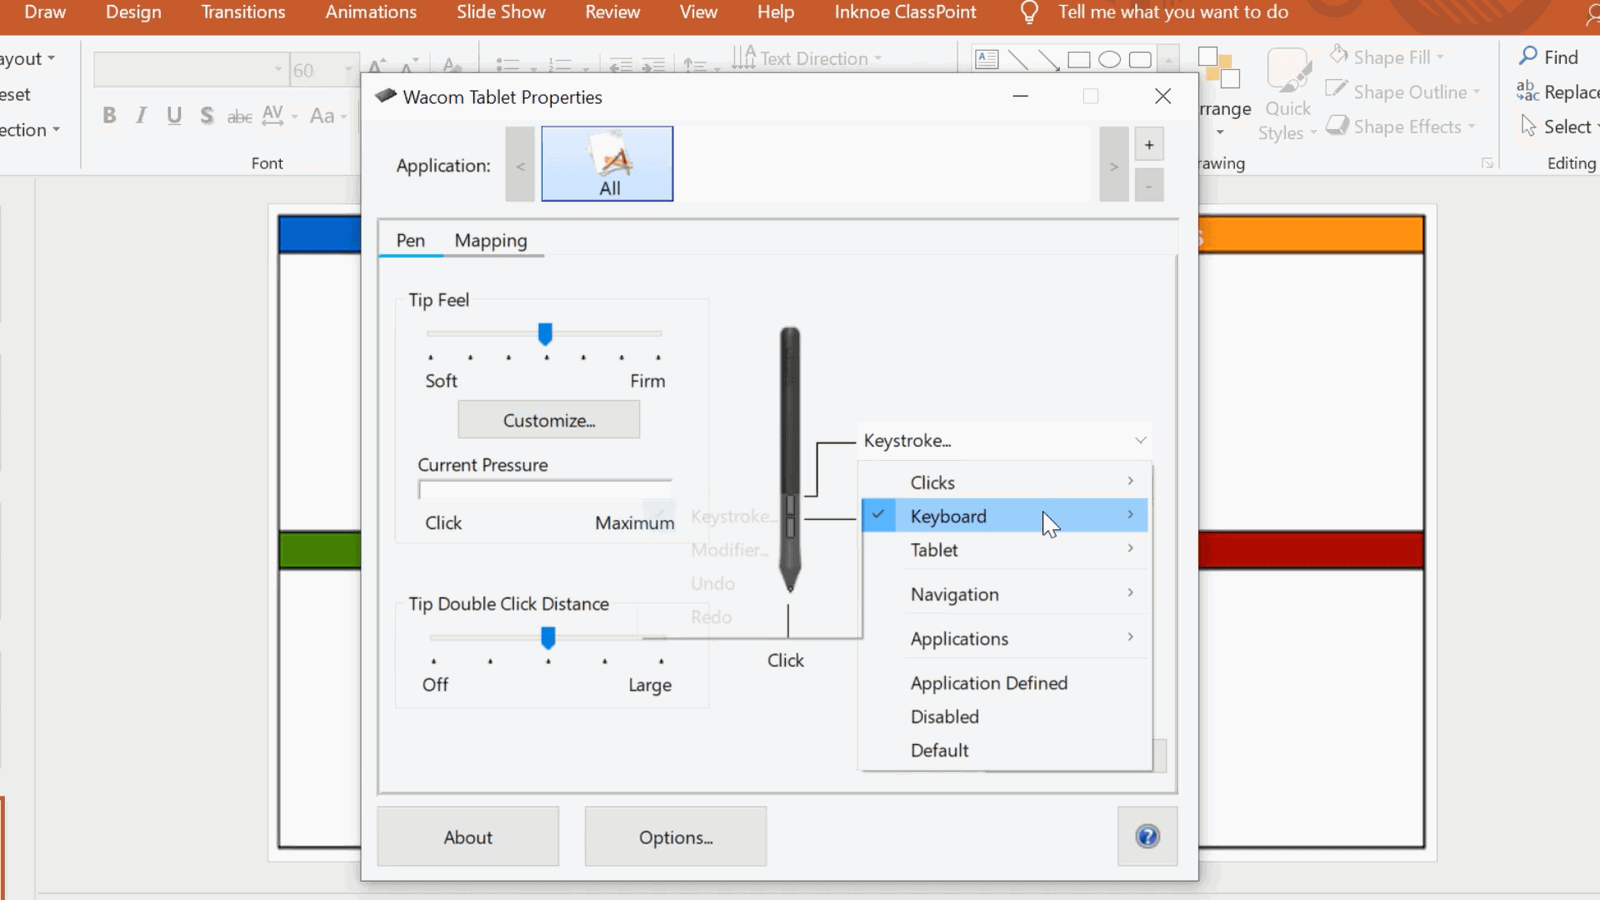
The two buttons on the side of the pen can be customized to what you would like. For example, set a button to bring up the eraser so that mistakes can be quickly cleared away.
To set these shortcuts, in your driver application, click the Pen Menu to view all the options. Try using Keystroke, and CMD+Z (for Mac) or CTRL+Z for (Windows) to undo your last pen stroke as one of the buttons!
Tip 2: Set the mapping area on your tablet
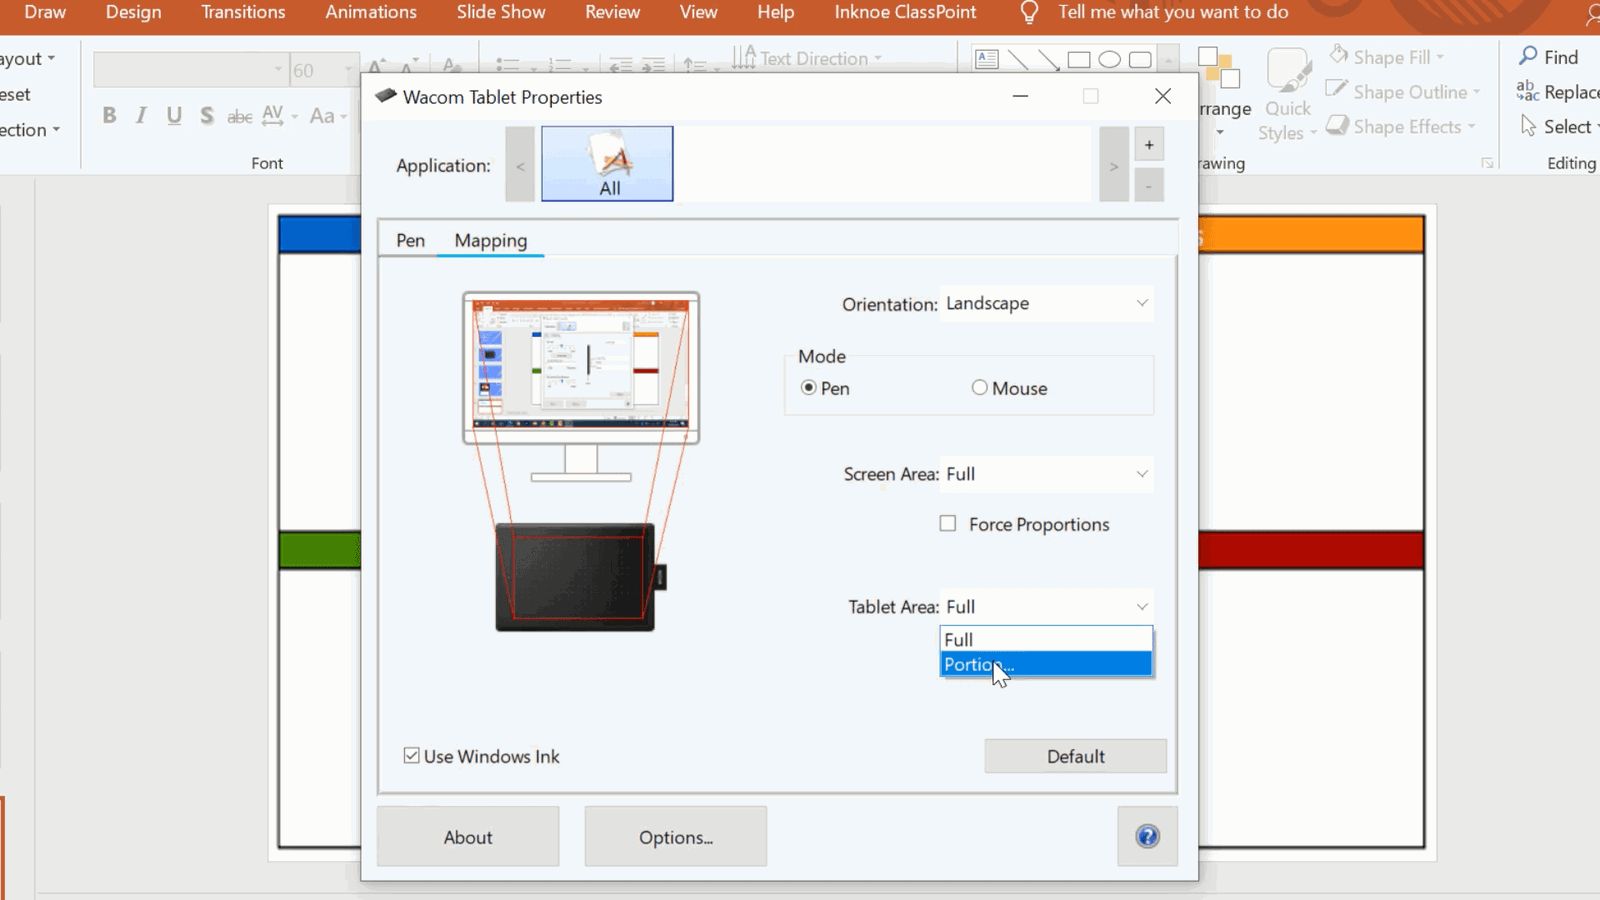
In the same driver settings, set the mapping of your tablet. The tablet is preset to map the full computer screen, so every corner of the tablet corresponds to a corner on your screen.
This means that you have to move your arm all over the place. Instead, set the mapping to only be a small part of the tablet instead. This way only your hand needs to move because you are only writing in that specific area.
Tip 3: Be cautious using dual monitors
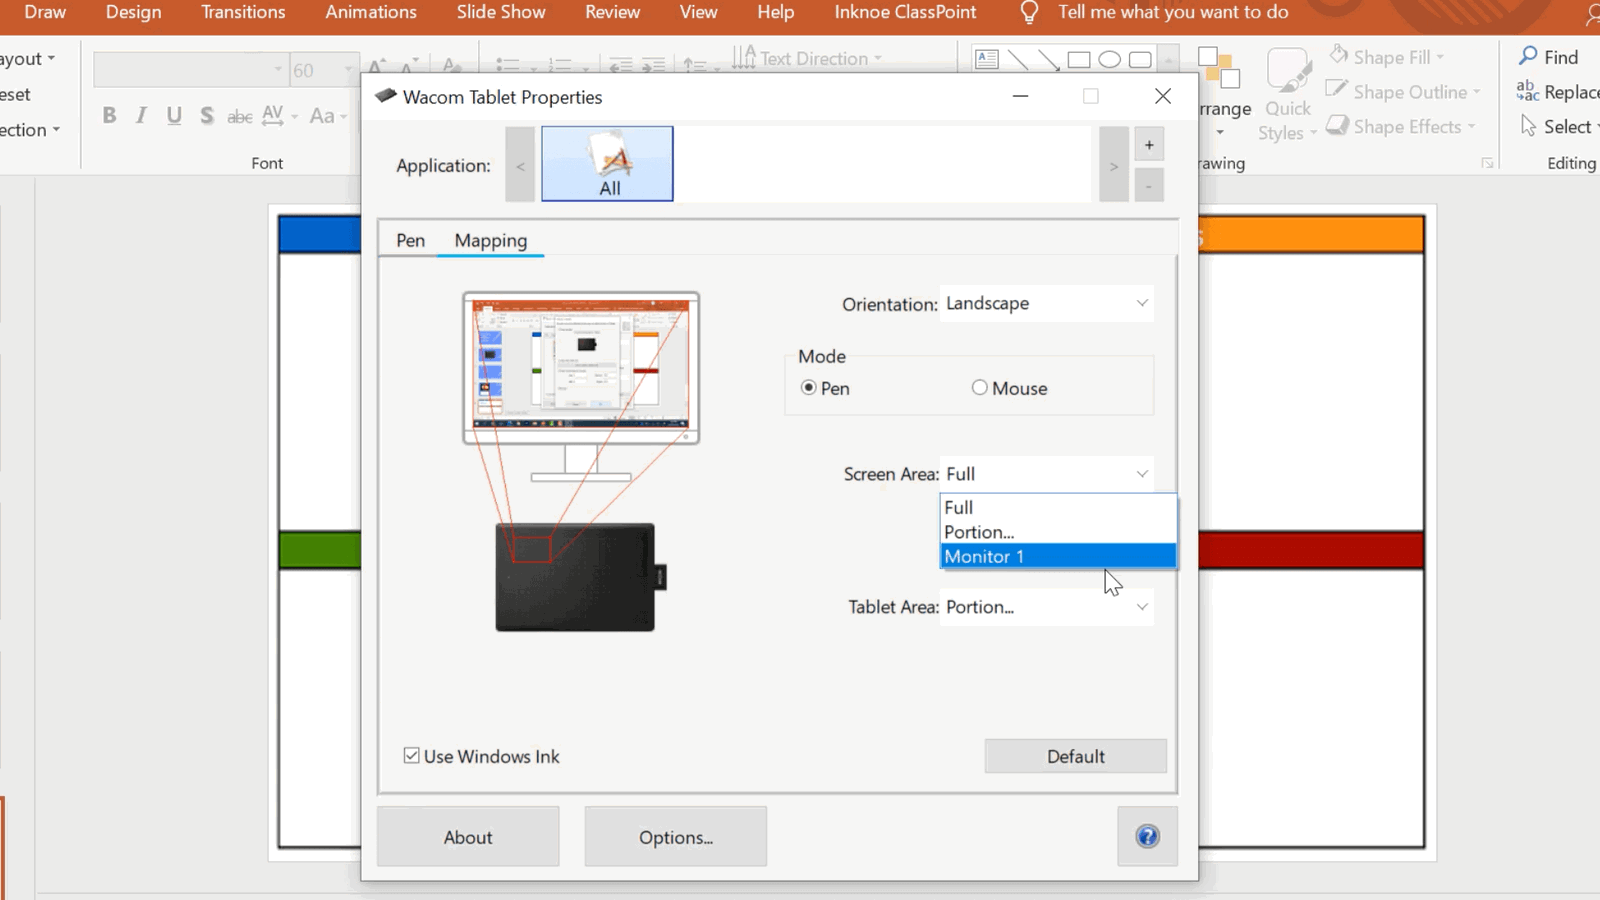
Having two monitors will sometimes cause the screens to calibrate incorrectly. So if you are using dual monitors, make sure the screen settings are set to the right monitor in the driver application.
Tip 4: Screen Record in PowerPoint
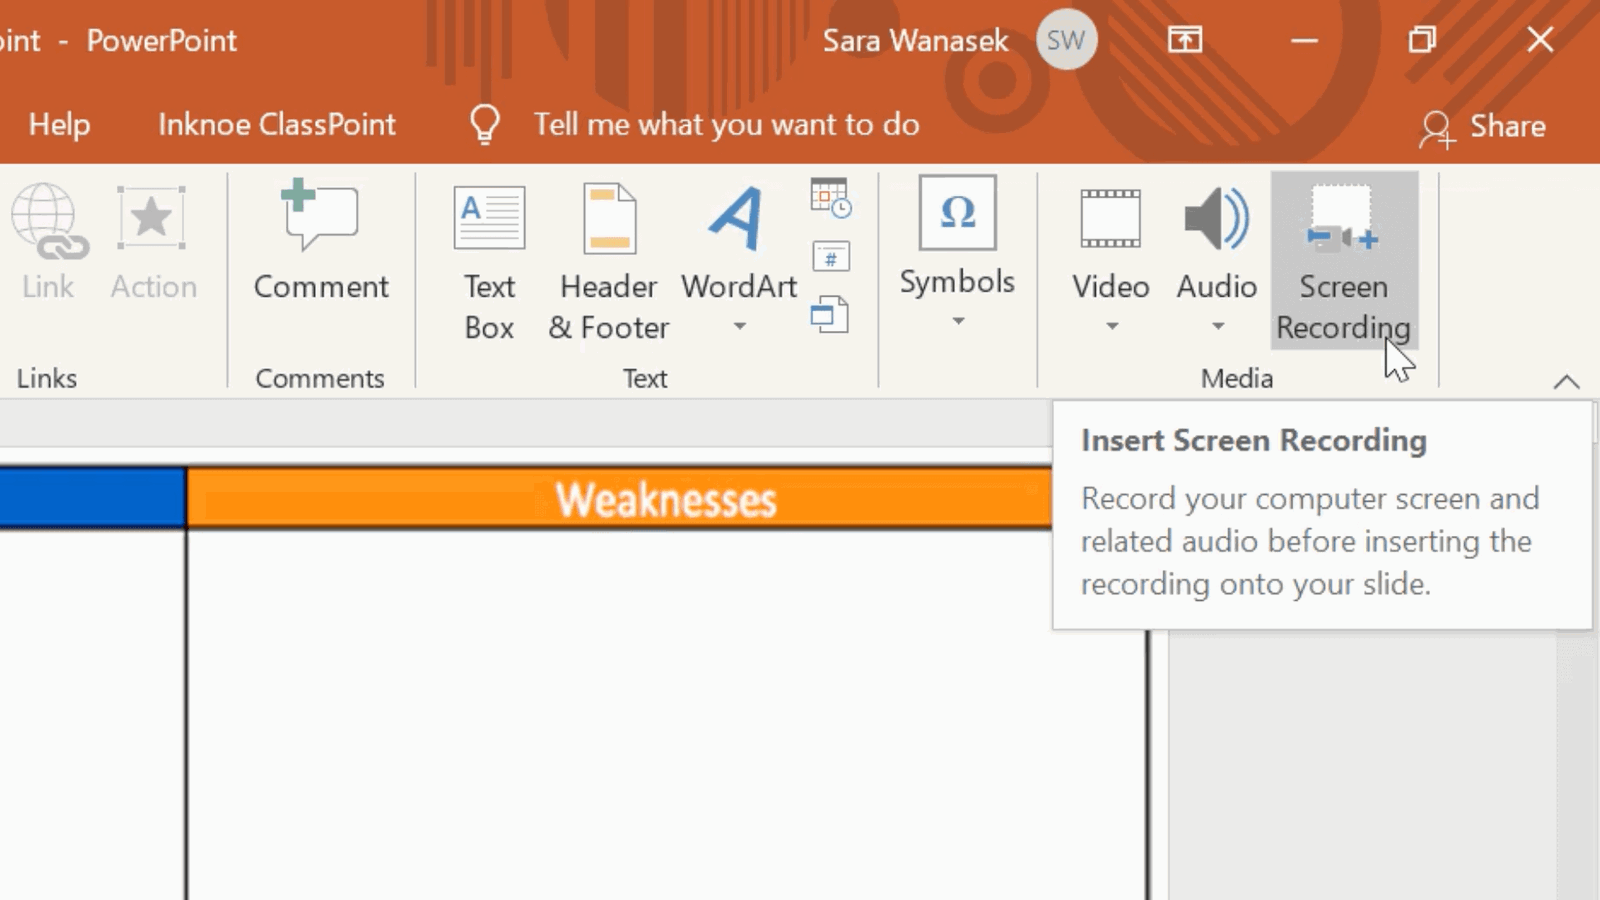
PowerPoint has a screen recording feature that can be used to record the annotations, your voice, and slides. Use this to annotate your slides when you are preparing a video lesson for students.
Frequently Asked Questions
Will the One by Wacom work with my system?
This tablet will work with both Mac and Windows operating systems. Just make sure you have a USB-A port and an internet connection to download and install the driver.
Is the One by Wacom good for beginners?
Totally! This tablet is a great entry-level tablet for anyone to get started. Because it is so affordable, it makes it an even better option for those looking to add a tablet to their setup without making a huge commitment.
Can you use the One by Wacom tablet without a computer?
Unfortunately no. To use this specific tablet you must have it hooked up to your device via USB.
How much does the One by Wacom cost?
The One by Wacom is around $60.00 USD. You can find this tablet on the Wacom website, Amazon, and a few other electronics dealers!
What is the difference between a graphic tablet and a drawing tablet?
The biggest difference between the two is that graphic tablets have a screen and can be used on their own, without being connected to a computer. Drawing tablets connect to your device, but you aren’t able to see your screen on the tablet.
We hope you all enjoy using your own Wacom tablet for all your online teaching needs. It is bound to make your teaching easier for a low-cost commitment, especially with all the transformations that it can bring to your online teaching experience when using ClassPoint!
