This comprehensive Student Guide to ClassPoint will teach students all they need to know to begin using ClassPoint like a pro. This way when class starts, students are ready to join the class and submit their responses, with no time being wasted.
Before we get started, you may be wondering what exactly is ClassPoint? ClassPoint is a PowerPoint tool that allows you to interact directly with teachers’ presentation. When teachers add interactive question buttons to their slides, students can submit their responses from their devices. Before you can begin submitting these responses, you first have to join your teacher’s class. Follow along below to become a ClassPoint Pro.
First, Join Your Teachers Class
To answer the interactive questions in the teacher’s PowerPoint, students must first join their teacher’s class.
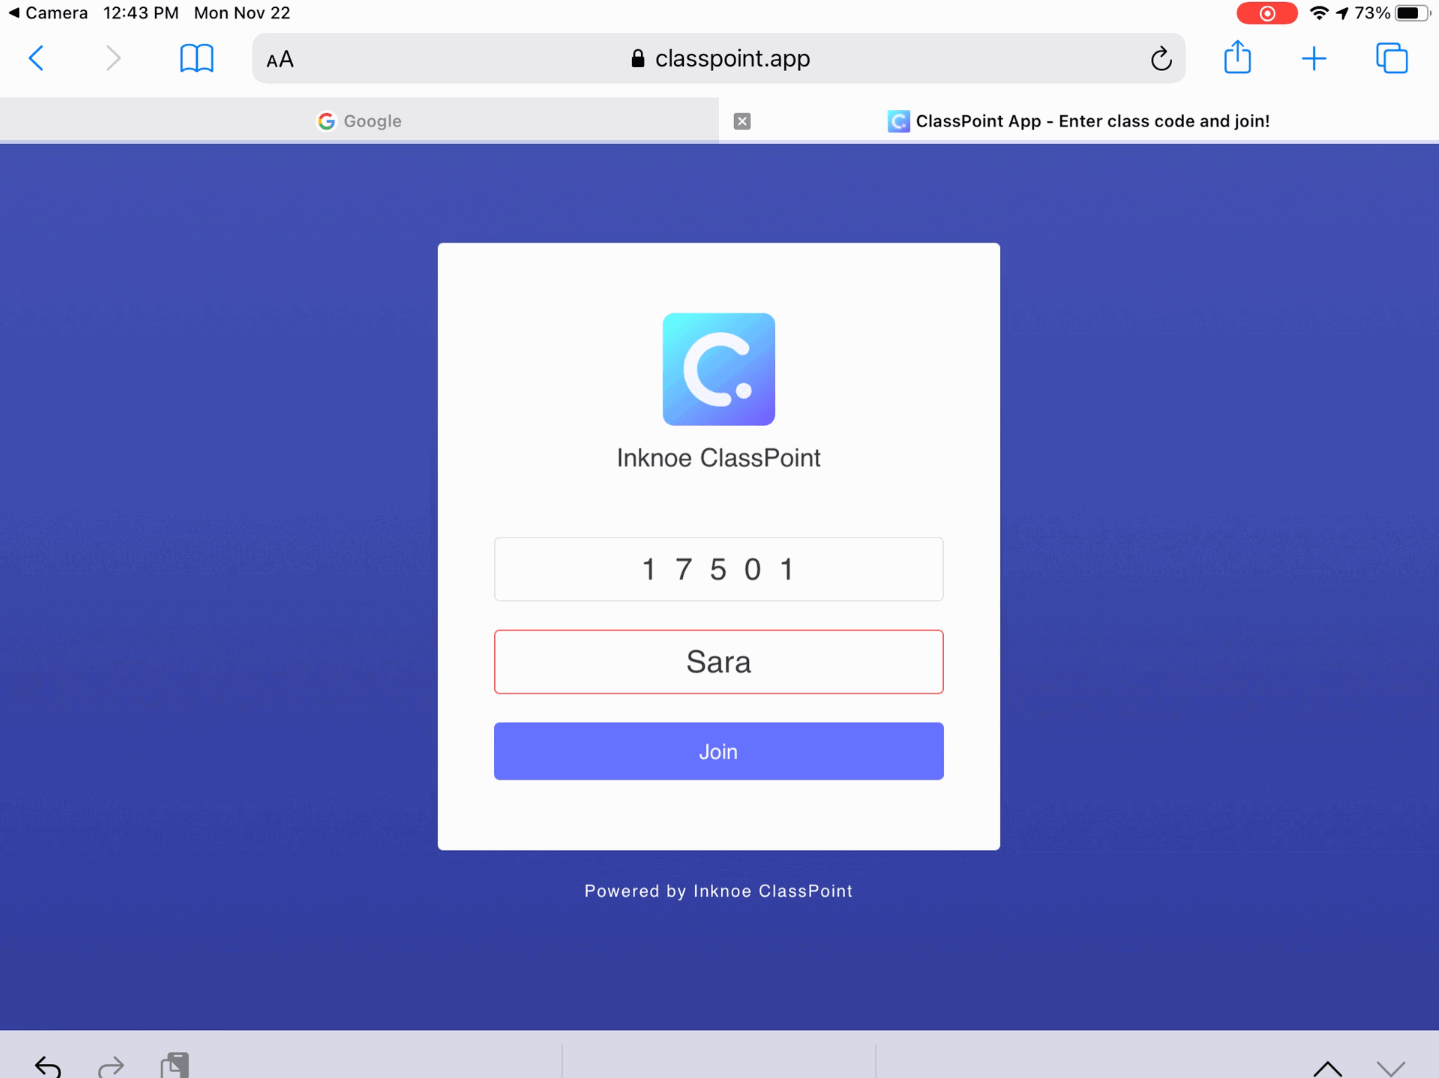
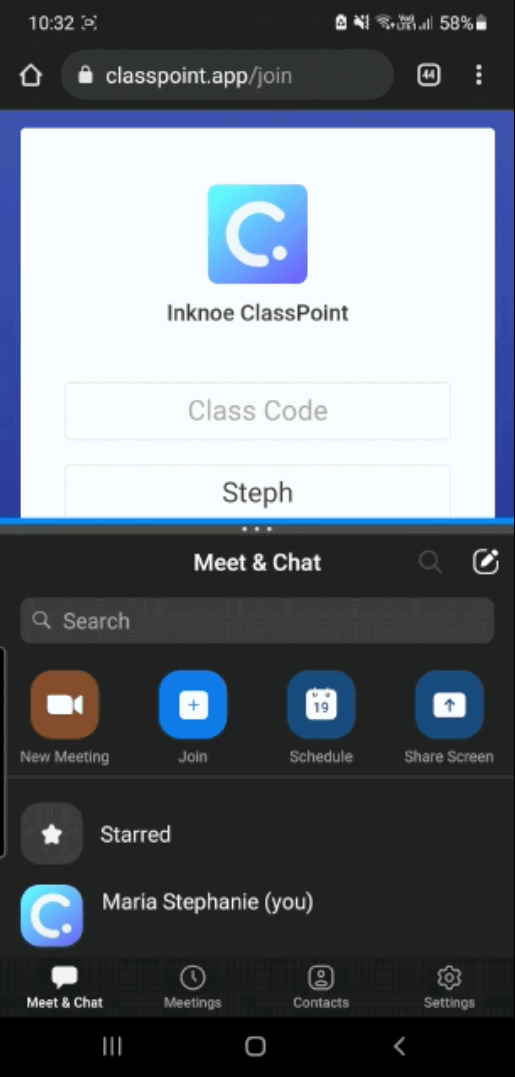
- Go to www.classpoint.app on any browser with any device.
- Look for the Class Code that is found in the top right-hand corner of the teacher’s presentation
- Key in the class code and name, and hit join!
Don’t forget to use your real name! Teachers can remove a participant if your name isn’t correct.
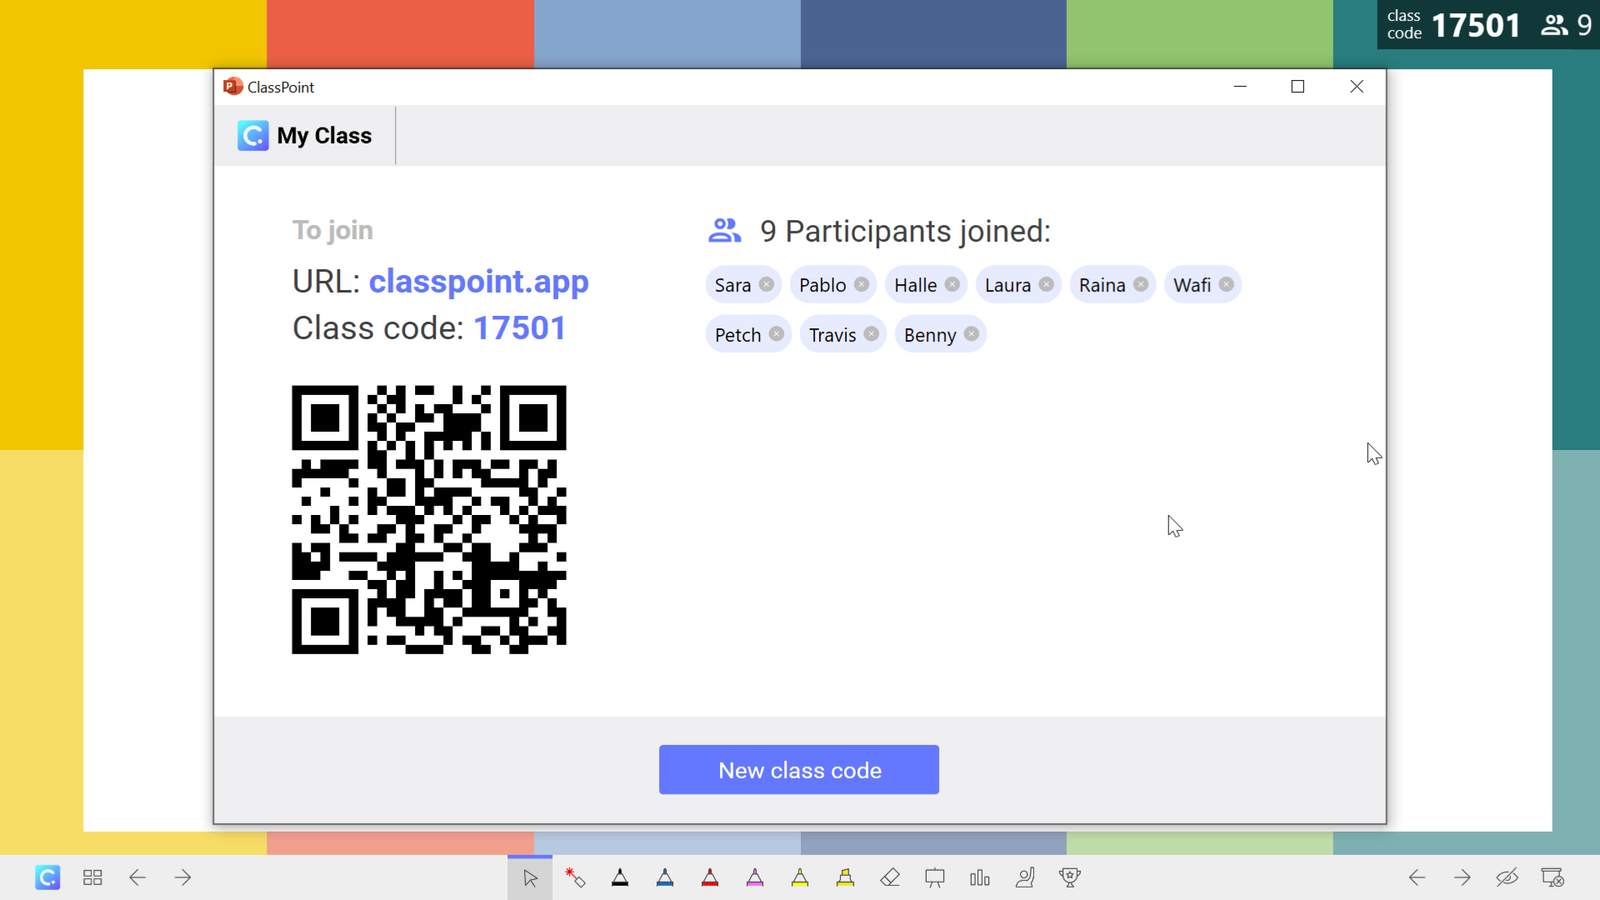
Another easier way to join is by scanning the QR code using your device if your teacher has the My Class Dialog open. Your teacher can open it by clicking on the class code in the top right corner. This window displays who has joined the class and the QR code that will automatically pull up www.classpoint.app and the class code, so you can just type your name and you’re in!
Second, Get Familiar With the Interface
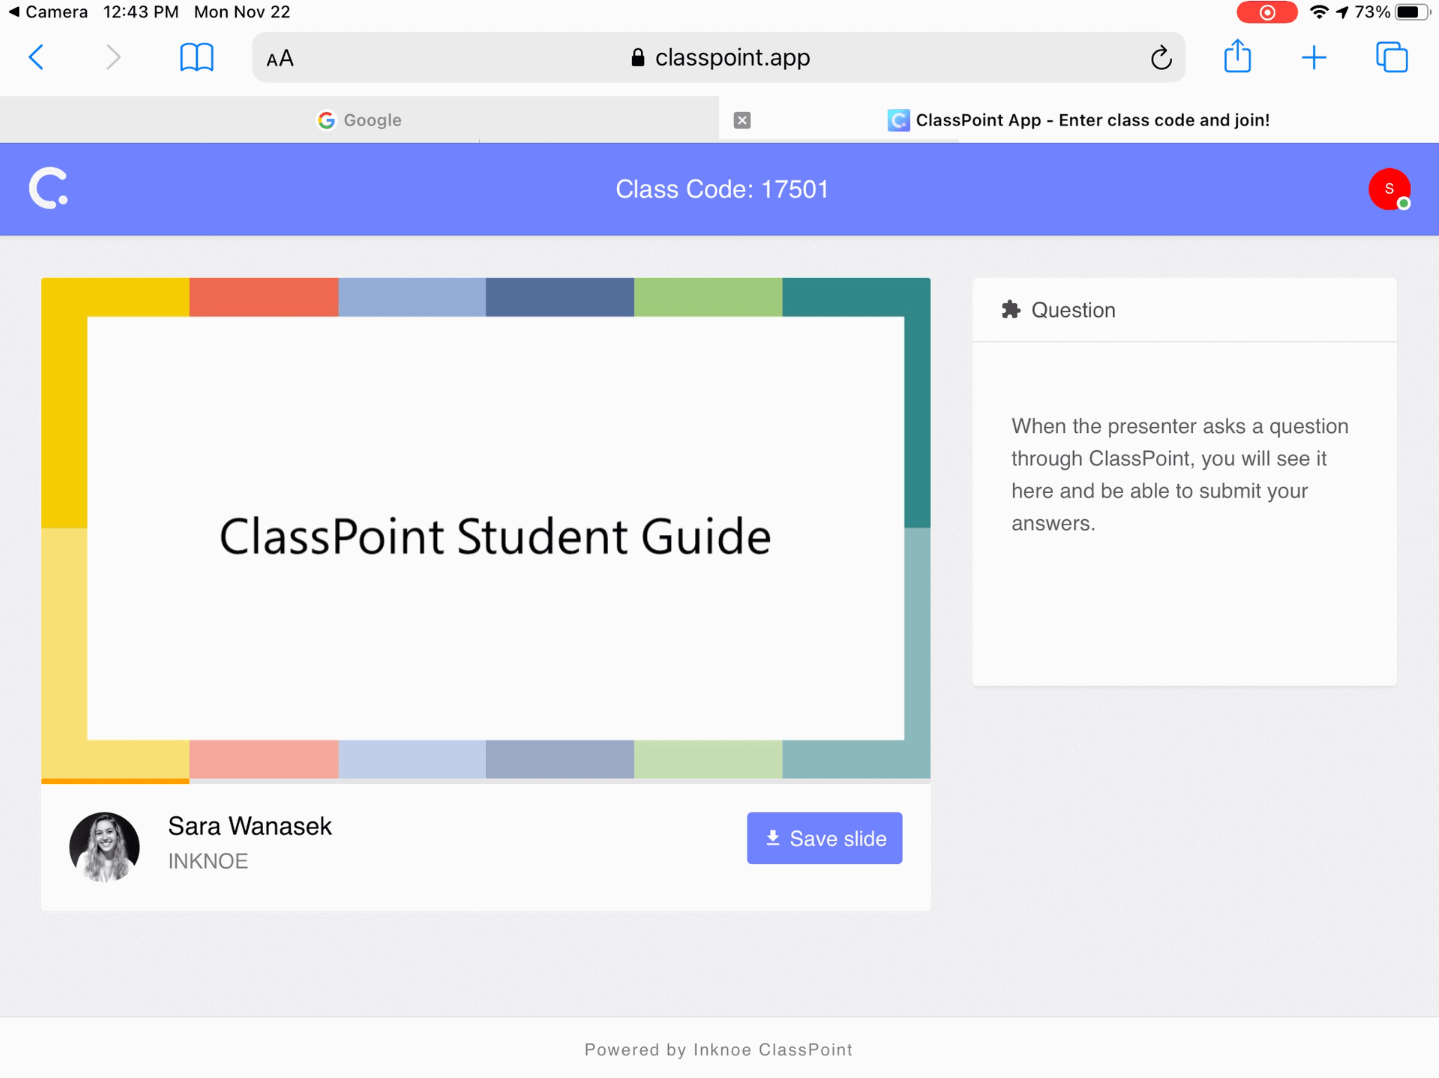
Before jumping into the different ways to answer questions, let’s get familiar with your student interface. Once you’re inside the class on your device, you will see the current slide and the presenter’s profile.
You can save any slide for future use by clicking the Save Slide button.
If you do not see this button, it is because your teacher has disabled the Audience Slide Viewer. This means that you will only see their title slide and question slides even as they progress through the presentation.
Third, Respond to the Interactive Questions
ClassPoint has 5 different question types. Each type requires a different kind of response, so let’s go through each one.
Multiple Choice
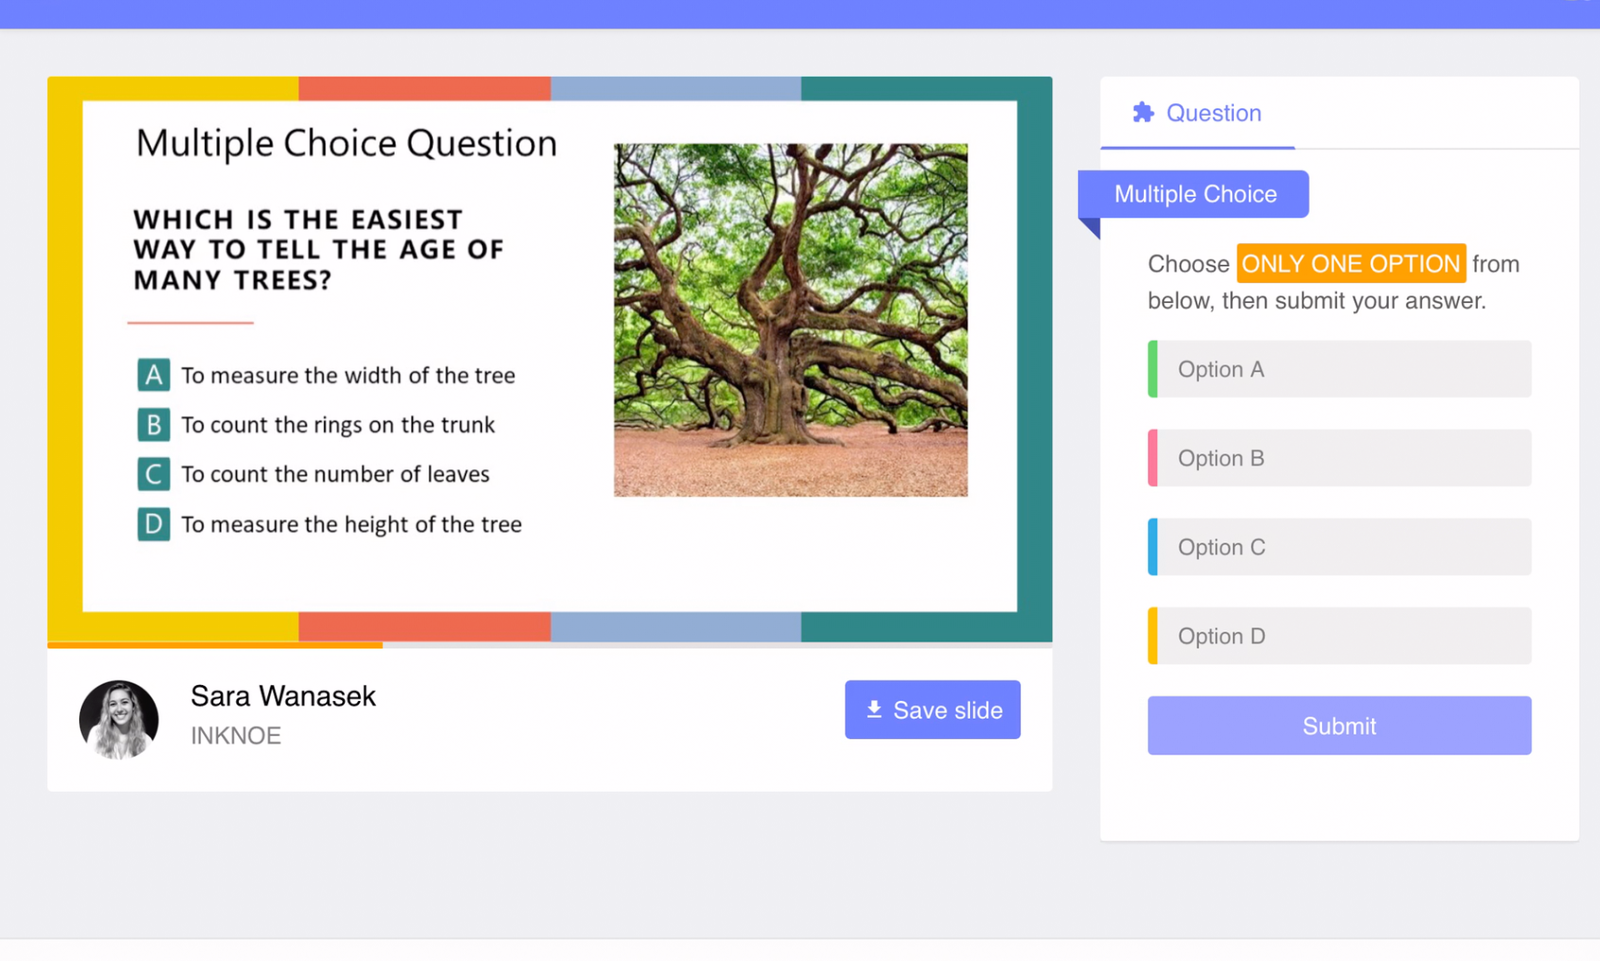
This question type is the most familiar and easiest to understand; you only need to select the option of your choice. Pay attention to the highlighted portion of the instructions to see how many options you can click before submitting. You may only have one option or choose one or more options.
Once you’ve selected your answer, hit submit and see your response appear live on your teacher’s presentation.
Please note that responses are not shown on the student side. To follow along, pay attention to where your teacher is projecting or sharing their PowerPoint presentation in the classroom or while online teaching.
Word Cloud
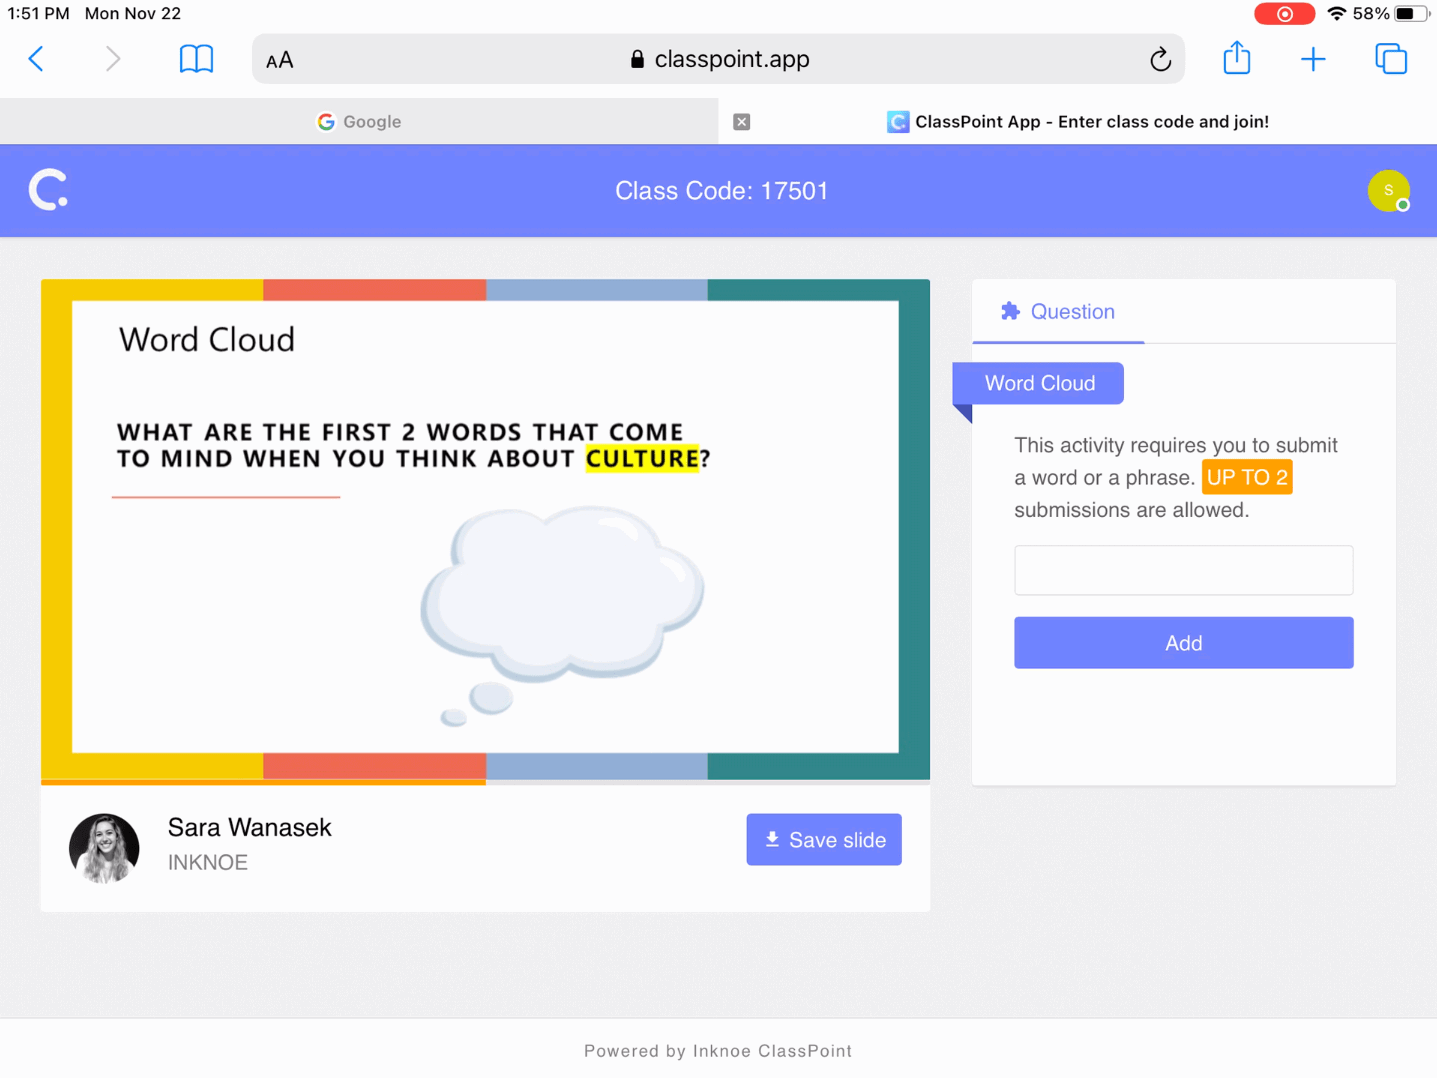
The Word Cloud question type compiles words provided by students into a dynamic ‘cloud.’ Teachers can set the limit of responses per student, so look for the orange highlighted instruction to see how many submissions are allowed for your question.
Type your word or short phrase and hit enter or the add button for your response to be added to the word cloud. Look for your word on your teacher’s screen, and watch it move around and grow as other students submit their words around you to create a multi-colored cloud.
Short Answer
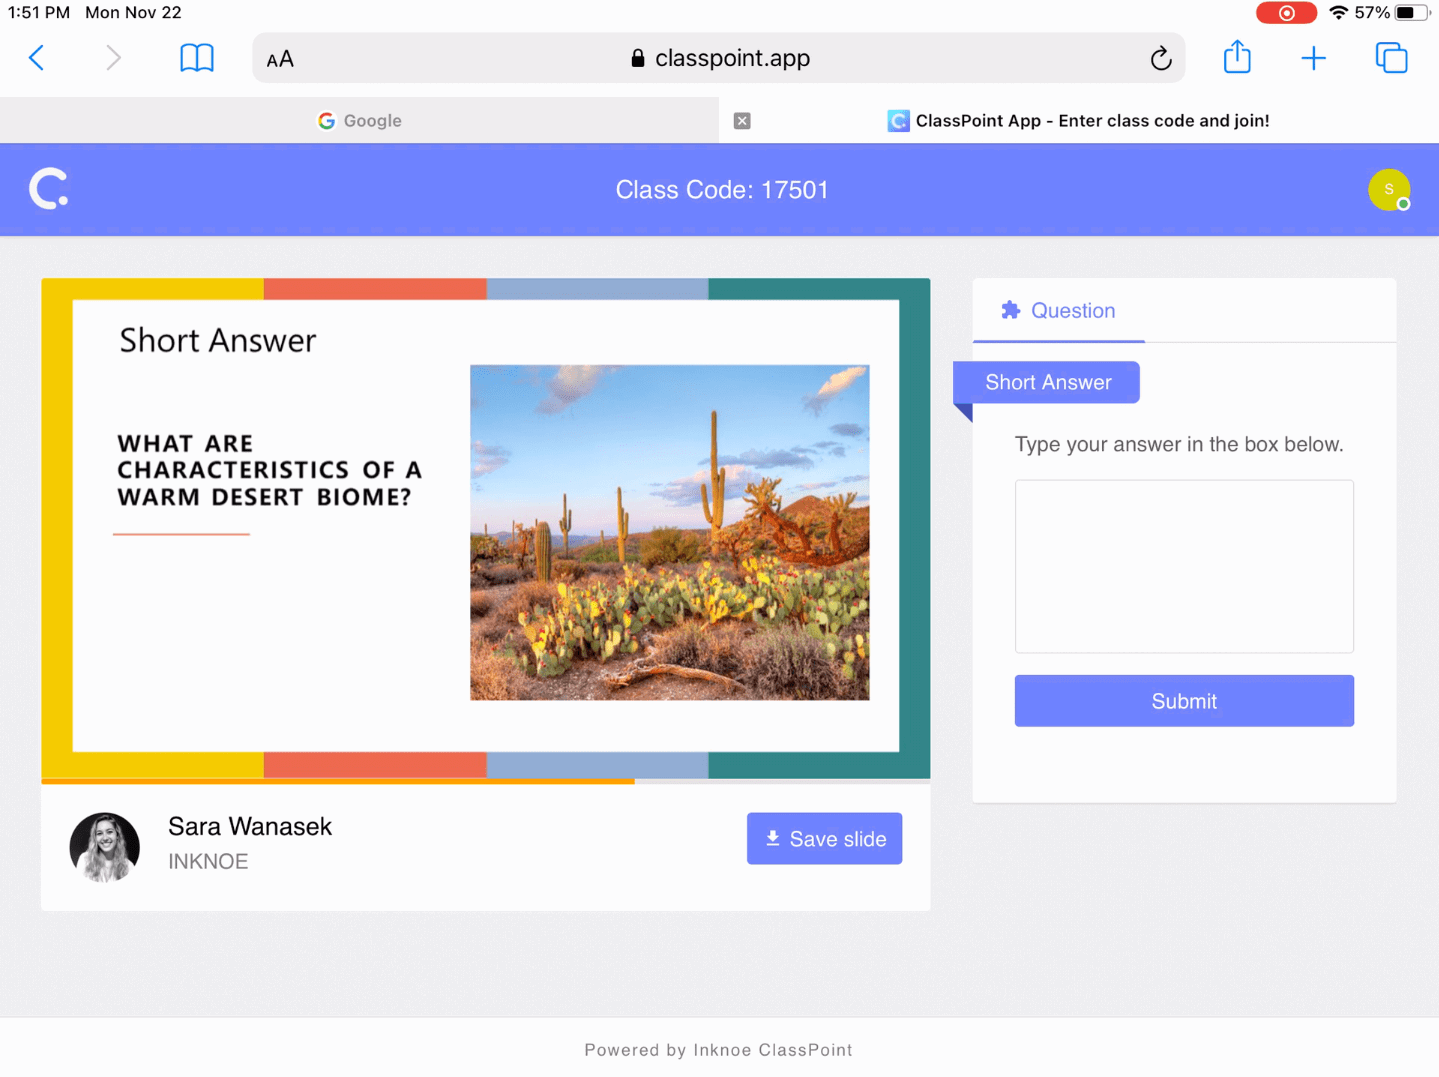
Your favorite question: short answer! It’s an open question where you are able to submit a phrase, sentence, or short paragraph to answer your teacher’s question.
Before submitting, don’t forget to double-check your work. Once you submit you can no longer edit your response or submit another.
Slide Drawing
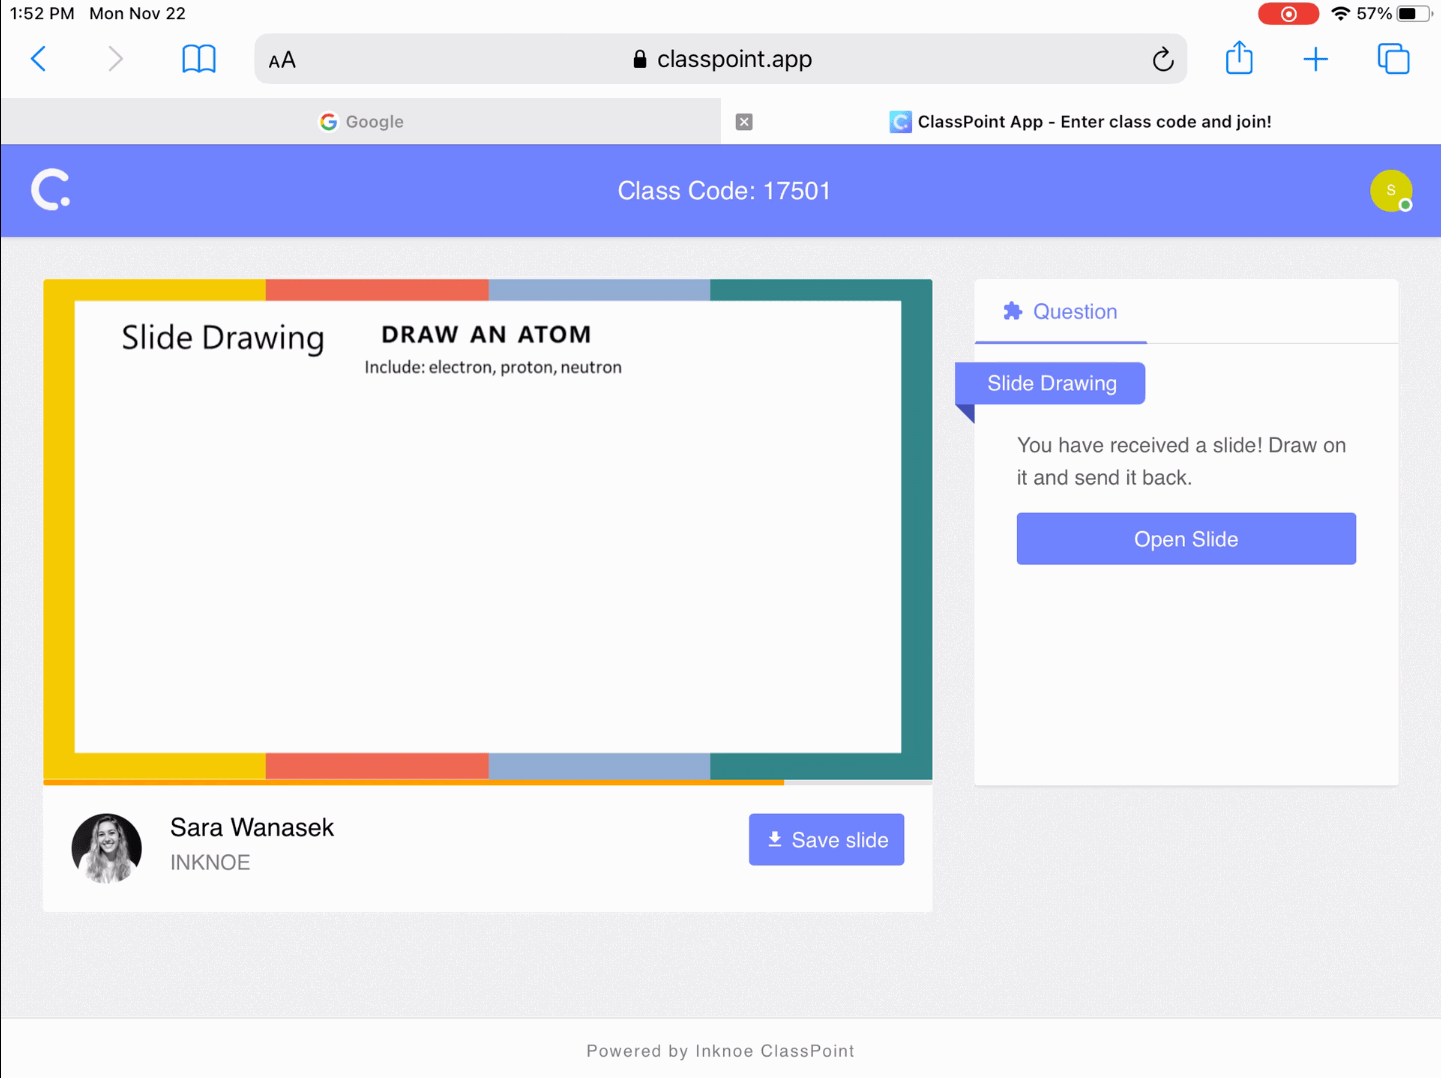
This ClassPoint question is a visual and hands on way to respond to your teacher’s question. With this question, you can draw your submission on the current slide.
Once the question begins, click Open Slide to begin. You will see a few different color options and an eraser. You can hit the Reset button to start over or use the eraser to make edits.
Once the drawing or annotations are complete, submit your slide so that the teacher can see your drawings.
Image Upload
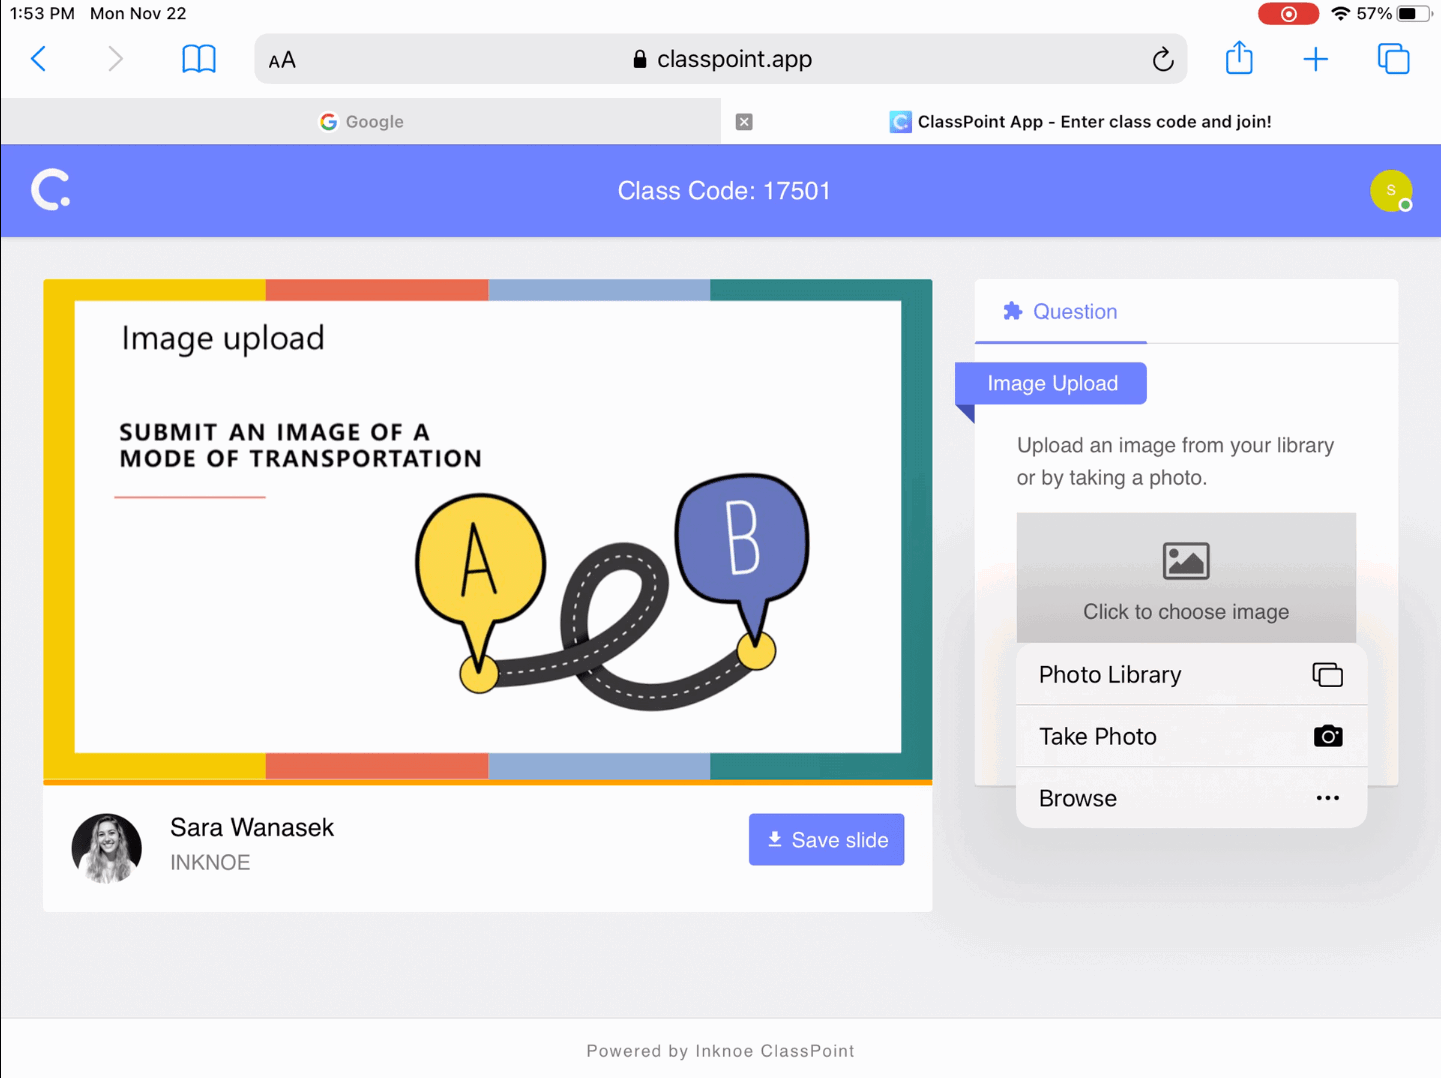
The image upload question is another visual response type. Instead of words for an answer, you can submit a photo!
When you receive this question and click Upload, you have three different ways to choose an image.
- Submit from your Photo Library
- Submit from your Files
- Take a Photo
Once you have a photo, you are able to rotate or crop the image inside ClassPoint before submitting it.
Quick Poll
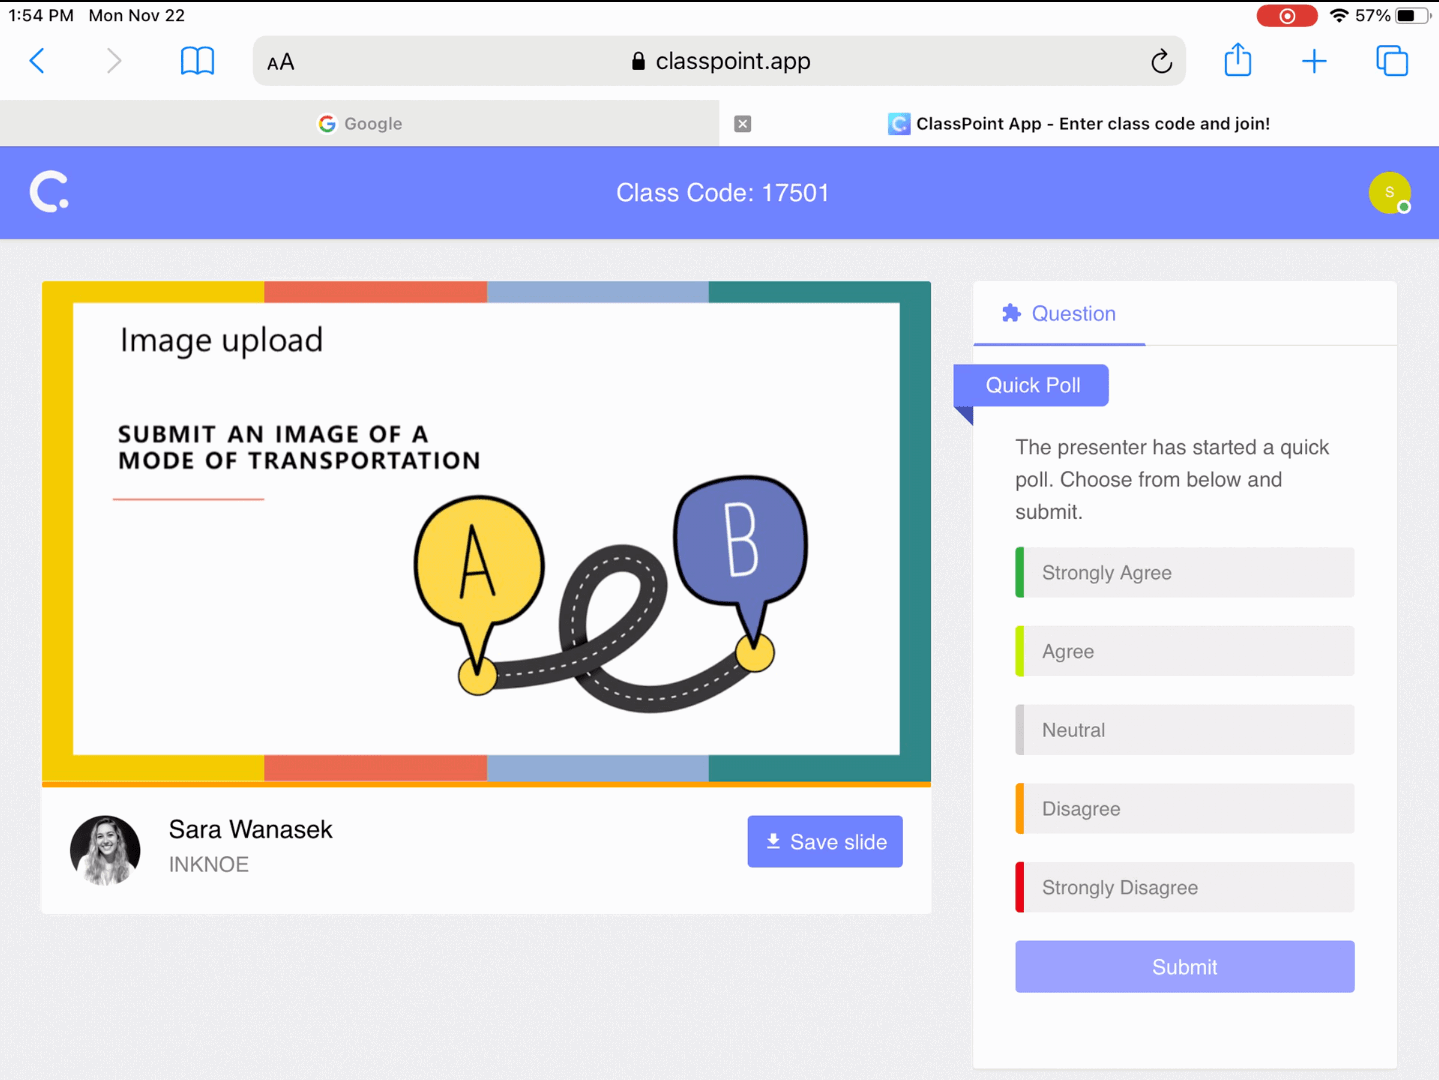
Quick poll is a question that your teacher can use at any point during the class, so be prepared! This question can either be a True or False, Yes or No, Feedback, or Multiple Choice question.
Fourth, Split your Screen When Online Learning
While we love being able to answer questions and interact with slides on personal devices, ClassPoint.app isn’t a live streaming tool, and if you are online learning, you may be using a video conferencing platform on the same device that you use to join ClassPoint.
If this is you, we have a great tip: splitting your screen!
As we mentioned before, you cannot see the live results of a question or any whiteboards or annotations on classpoint.app, so you’ll need to pay attention to your teacher’s presentation at the same time! This is easy enough in person, but online learning is a different story.
To spare you from the hassle of toggling between windows and applications, you can watch your screen and your teacher’s presentation at once by cutting the two windows in half so they can share a screen.
Screen splitting can be done on any device! However with mobile devices, you may hurting your eyes to spare your fingers & your focus because your windows can become quite squished on that small screen!
Split Screen with a Laptop or Desktop
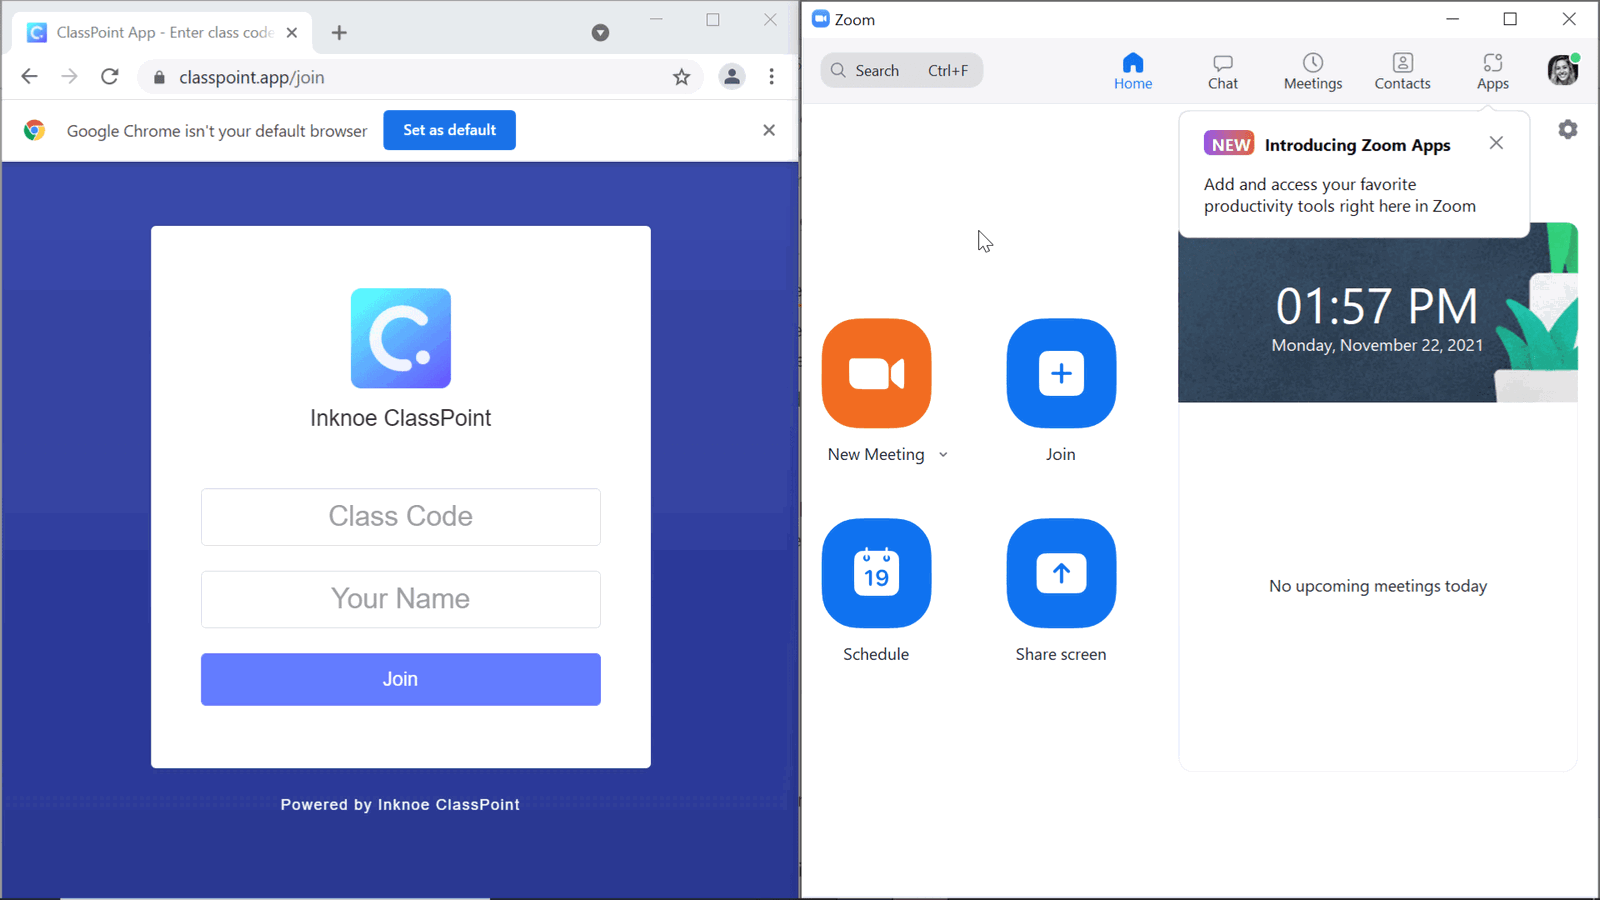
To split your screen on a laptop or desktop, resize and move your two windows to be side by side.
If you are on a windows computer, just drag one window to the side of your device, and it will automatically put it on half the screen and let you choose which window to see on the other half.
Split Screen with an iPad or Tablet
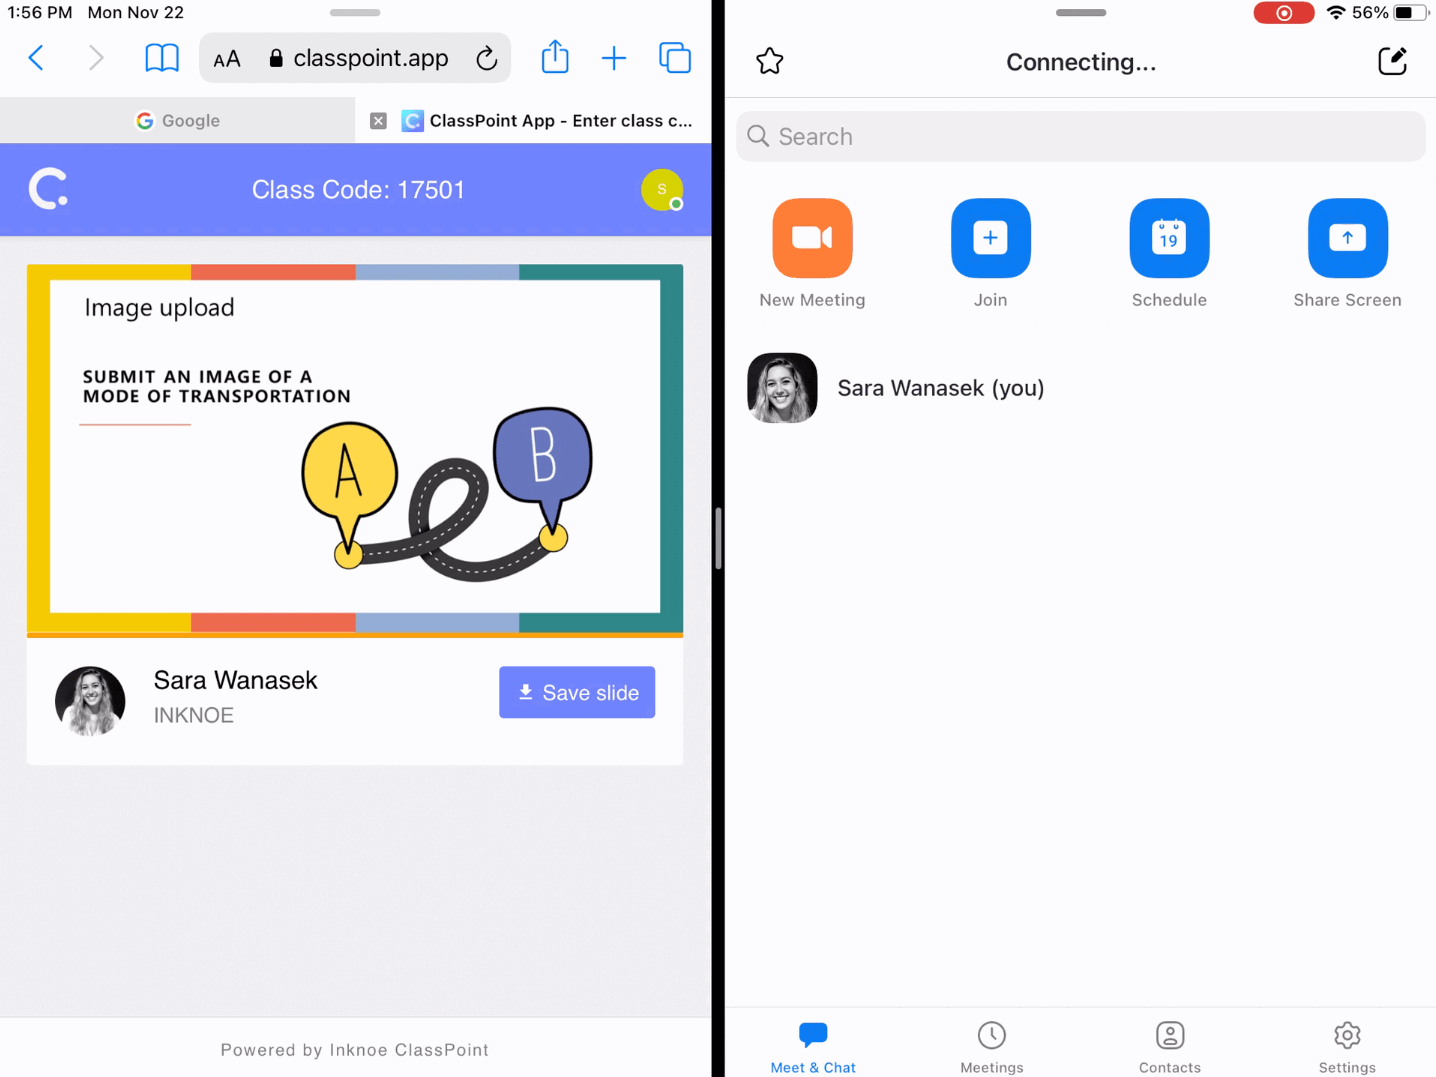
On an iPad, you can open one application, Zoom for example, then swipe up from the bottom of your device to view the toolbar.
Press and hold on to the application you want to split the screen with, for example, a Safari page open to ClassPoint.app, then drag it to the side. Now you will see both applications on the screen at once.
Split Screen with Mobile Devices
For mobile devices, most Android models have a screen split feature built-in. For iPhone users, you will have to download an application to split the screen.
Two pages split on a mobile device appear quite crunched, so it is not recommended to take this route when online learning.
And that is it! You are now a ClassPoint Pro and can help the student’s in the back.
This student guide to ClassPoint provided you with the inside scoop for students, but if you are still hungry for more ClassPoint info, check out our other tutorials. Enjoy your next interactive lesson!
