
A well-designed PowerPoint can take your lesson material and transform it into a captivating presentation that intrigues your students and occupies their eyes & ears. However, creating amazing PowerPoints that have this effect requires some careful attention to detail (especially when it comes to design) and, therefore, a whole lot of time… well it used to.
Most teachers don’t have the time to put together creative, well-balanced PowerPoints every single time they make a presentation for their students, but with these PowerPoint design tips, you don’t have to! To help you design better PowerPoints while also making the process easier, we have 5 quick PowerPoint tips and tools that you can use to keep your students engaged in your lesson from start to finish.
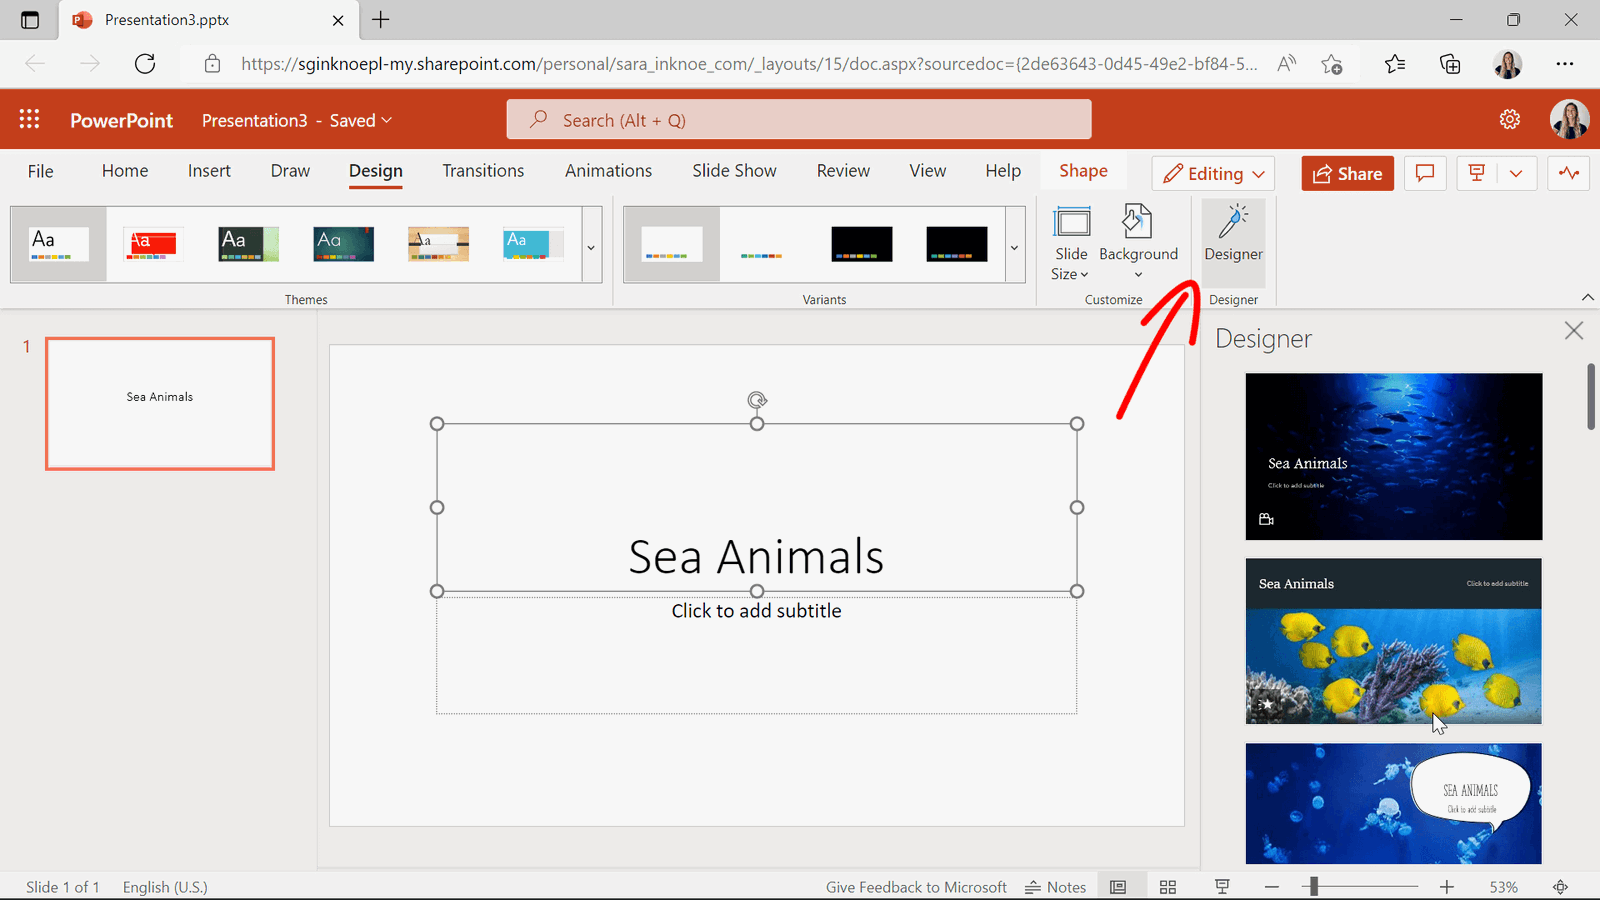
Tip #1 Use PowerPoint’s Designer feature
PowerPoint’s Designer feature (previously Design Ideas,) allows presentation makers to totally update the look of their presentation without having to leave the application. The Designer feature allows you to browse different designs for slides at any stage in your creation process. Take a look at the ideas before you begin, or in the middle of creating one of your slides. (Forget it, Themes!)
To access the Designer, click the Designer button in the Home tab of the PowerPoint ribbon or in the Design tab of the ribbon. To get more curated designs for your topic, add text or an image before choosing the slide design. Once a design is chosen, your slide will update automatically.
If you do not see this option, please check what version of PowerPoint you are using. The Designer feature is only available to those who are subscribed to Office 365 or are using PowerPoint online.
This feature of PowerPoint allows you to quickly update the look and feel of your PowerPoint with no effort needed. This smart tool can create professional and visually appealing slides that can gratify students and their attention. For example, you can turn the slide on the left to the slide on the right! Which of these two slides would you prefer to look at?

Tip #2 Use Templates
If you don’t mind leaving PowerPoint to get even more creative, there are quite a few websites where you can download free PowerPoint templates; many of these even have templates just for teachers! Some of our favorites are Canva, SlideModel, Buncee, and SlidesGo.
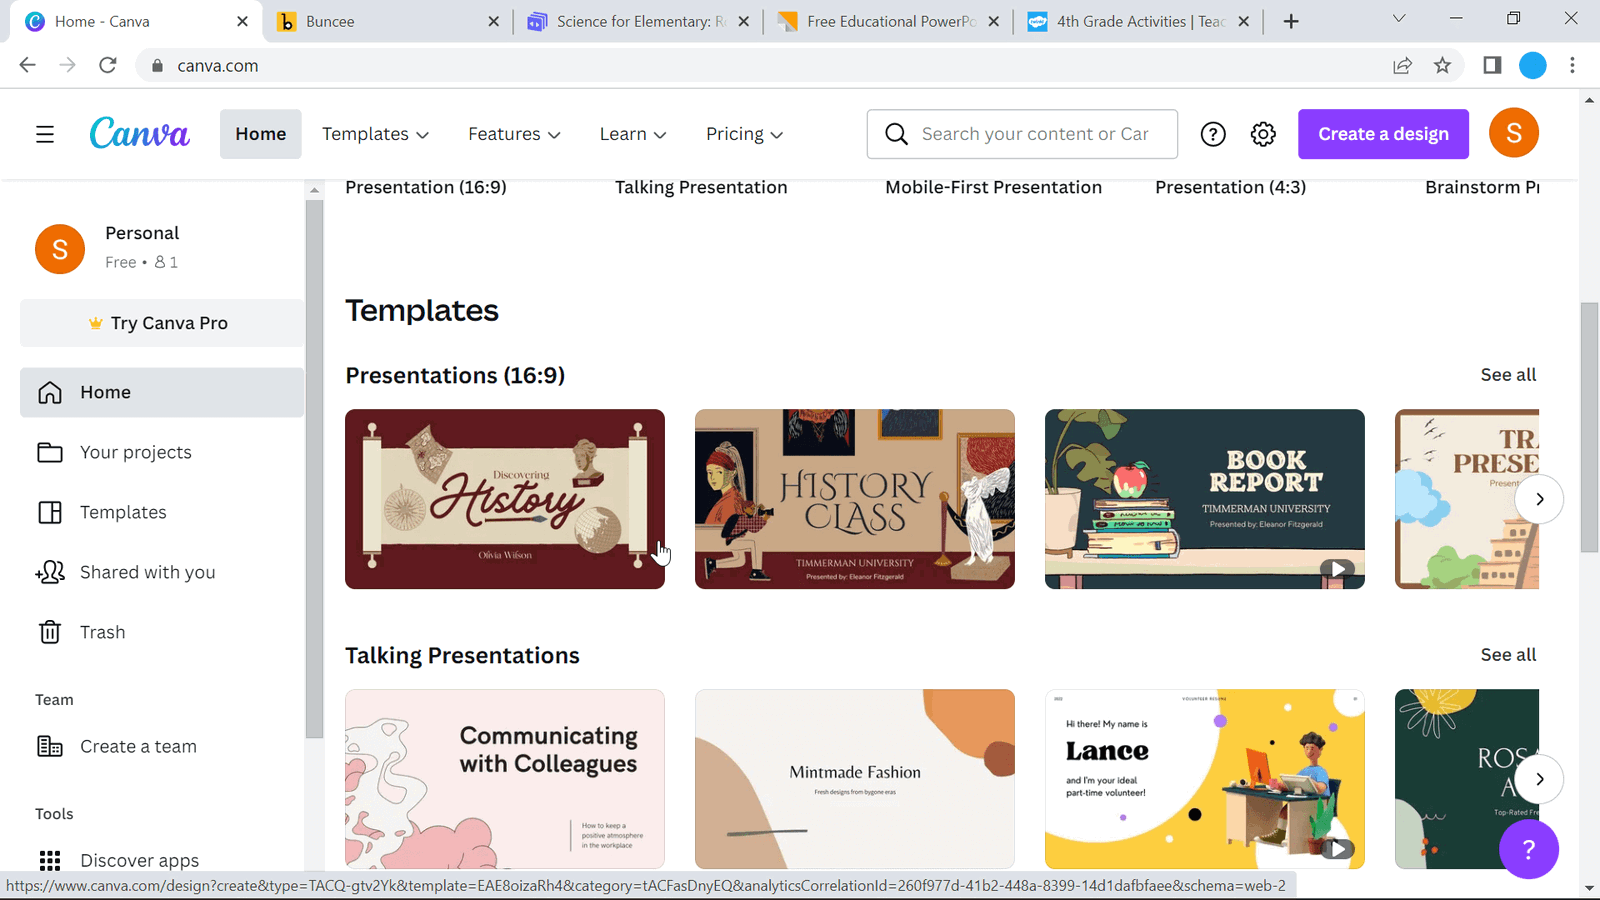
Canva
What is it? Canva is a web tool for creating different designs and templates, not only presentations, so this can be used for many classroom materials.
Overview:
- Canva has a huge library that you can look through, and you can customize any template with different elements that you see to your needs.
- Easy download to PowerPoint! Then you can add interactive features to better engage your audience with tools like ClassPoint.
- Templates & elements are not exclusively education-focused, so it may take more time to find exactly what you need.
Cost: Free for Teachers! Teachers have access to Canva for Education which allows access to the Pro version for both educators and students.
Read More: How to Use Canva and ClassPoint to Create More Engaging Presentations
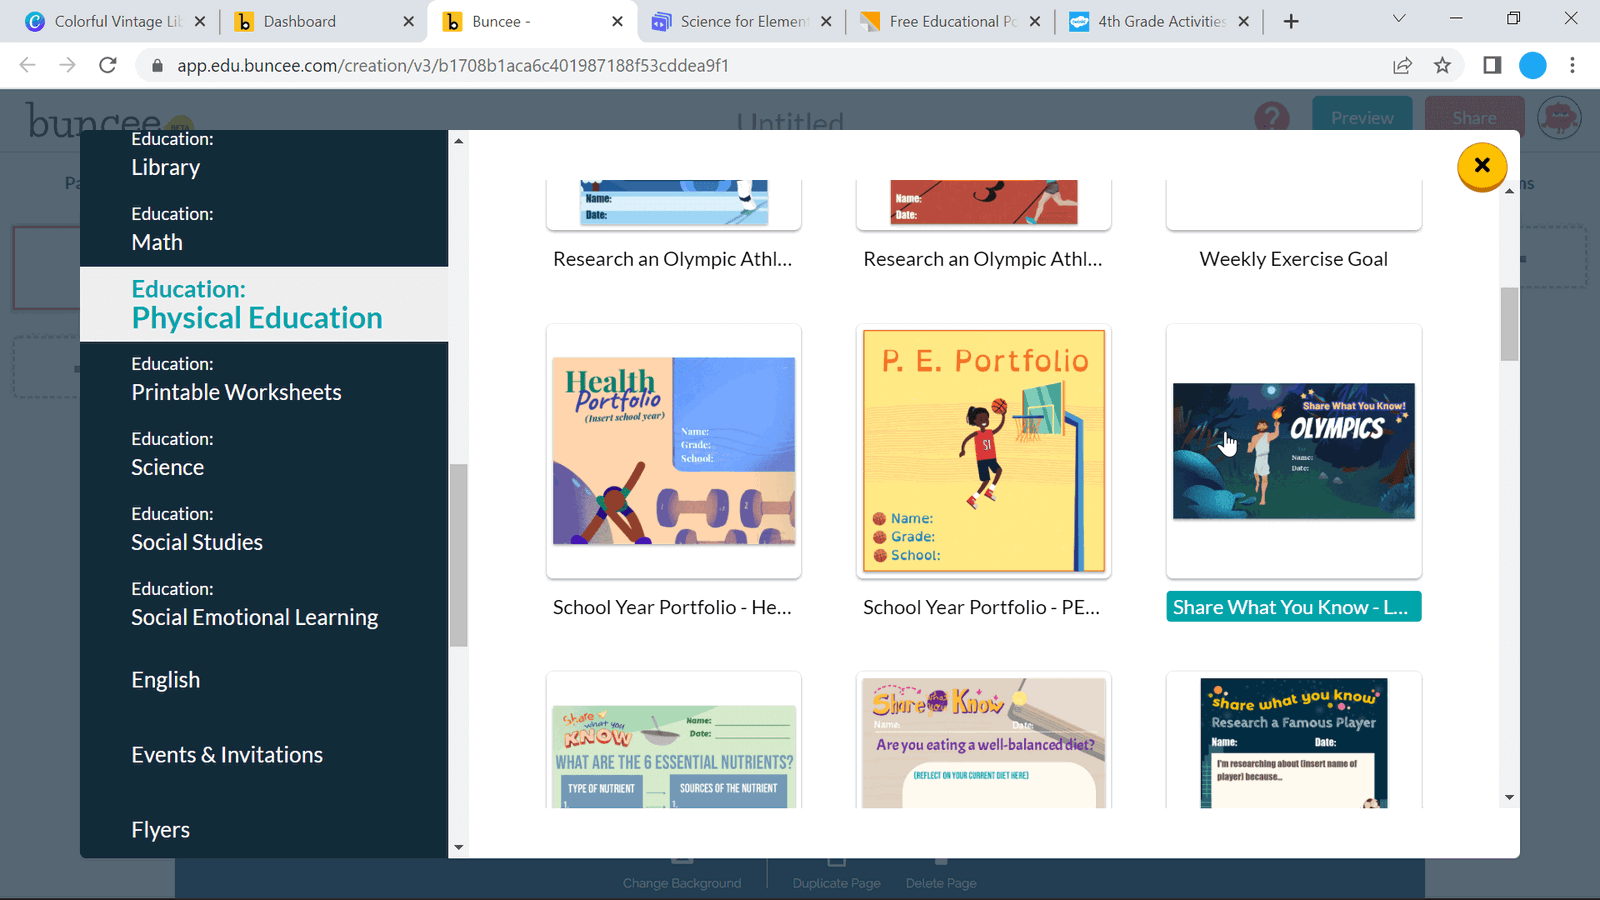
Buncee
What is it? Buncee is an online tool for creating and presenting educational presentations. Presentations can be shared with students to review right inside Buncee.
Overview:
- Buncee has templates that are purely education-focused, sorted by subject.
- Can add 3D graphics to make slides feel more alive and interactive.
- Many of the most interactive features, like recording, and Multiple-Choice Questions, are only available on the Pro version.
- Slides can be downloaded as images, and then brought to PowerPoint; however, any animations will be held static.
Cost: When you sign up for Buncee, you automatically get a 30-day trial of their Pro version. After the 30-days are up, you will be downgraded to the free version with limited access to templates and objects to add to your slides. To stay on the Pro plan, you can pay $7-$20 per month depending on your plan type.
Read More: Buncee Templates + ClassPoint Interactivity = PowerPoint Success
Slidesgo
What is it? Slidesgo is an online library of downloadable templates. Unlike the first two, Slidesgo has no editing or customizable features for its templates. All customizations will need to be done in Google Slides or PowerPoint.

Overview:
- Templates have a wide range of designs, icons, and colors to choose from; however, the majority are geared towards elementary students.
- Templates come with actually useful activities and information that you could potentially use in your lesson.
- You get a ton of slides with many varieties in style, designs, illustrations, and icons included in the template. Con: almost too much variety/ a lot of deleting.
Cost: The free version of Slidesgo is limited to 10 downloads per month, for more access, the Pro version is $24 USD per year.
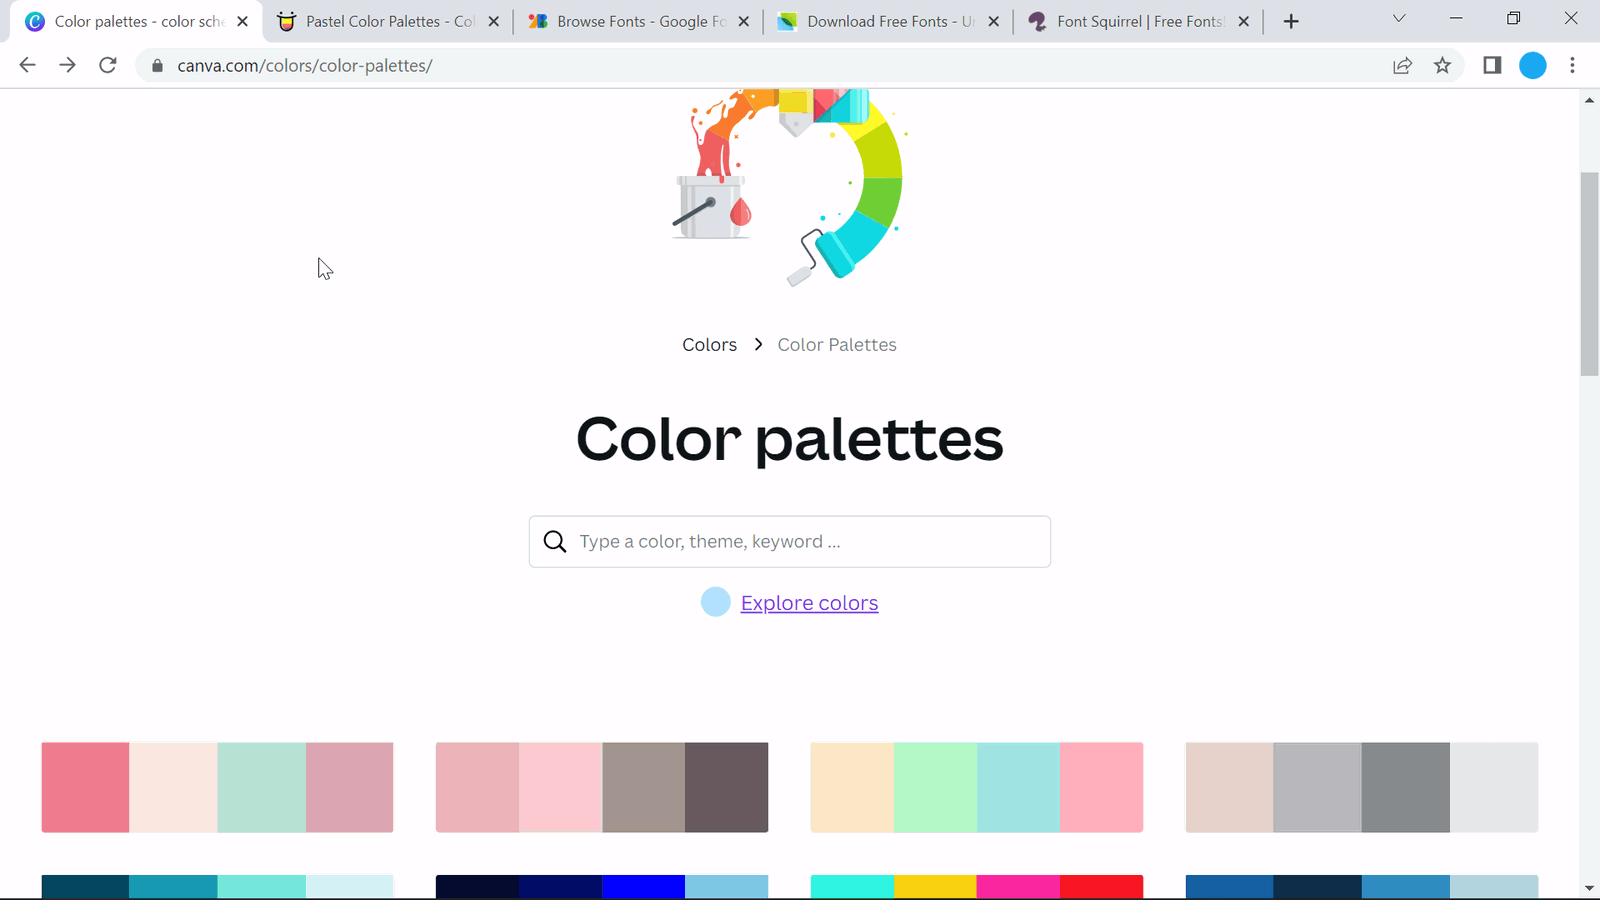
Tip #3 Choose appealing colors
Color is extremely impactful when it comes to visual design & communication. Whether you are starting from scratch or updating a template, ensure you choose color combinations that are visually appealing and easy to look at.
Choosing complimentary, captivating, and professional color combinations is much more difficult than it would seem, so our favorite trick is to skip the trial-and-error and auto-generate a color palette using free color book tools such as Canva or Color Hunt. These tools have a wide range of palettes that you can scroll through and look at, or search for a color, idea or feel you are going for to find more options. If you find a color theme that you like, copy the color hex code (ex: #FF96C5) and type that code into PowerPoint’s color selector when editing the font or fill with a shape!
Tip #4 Use appropriate font and text
When adding information to your slides, remember less is more! Only keep key points on your slide. Your audience should be listening to you speak, not reading the slides the whole time. To help with this, remember the 6×6 rule: no more than 6 bullets, and no more than 6 words per bullet.
As for the look of this text on your slides, try not to mix font families. Serif fonts (Times New Roman, Garamond, Bookman) are best for printed pages, while sans-serif fonts (Helvetica, Tahoma, Verdana) are easier to read on screens. For more fonts than the ones that PowerPoint offers, look at Google Fonts, Urban Fonts, and Font Squirrel to download and embed free fonts into your PowerPoint.
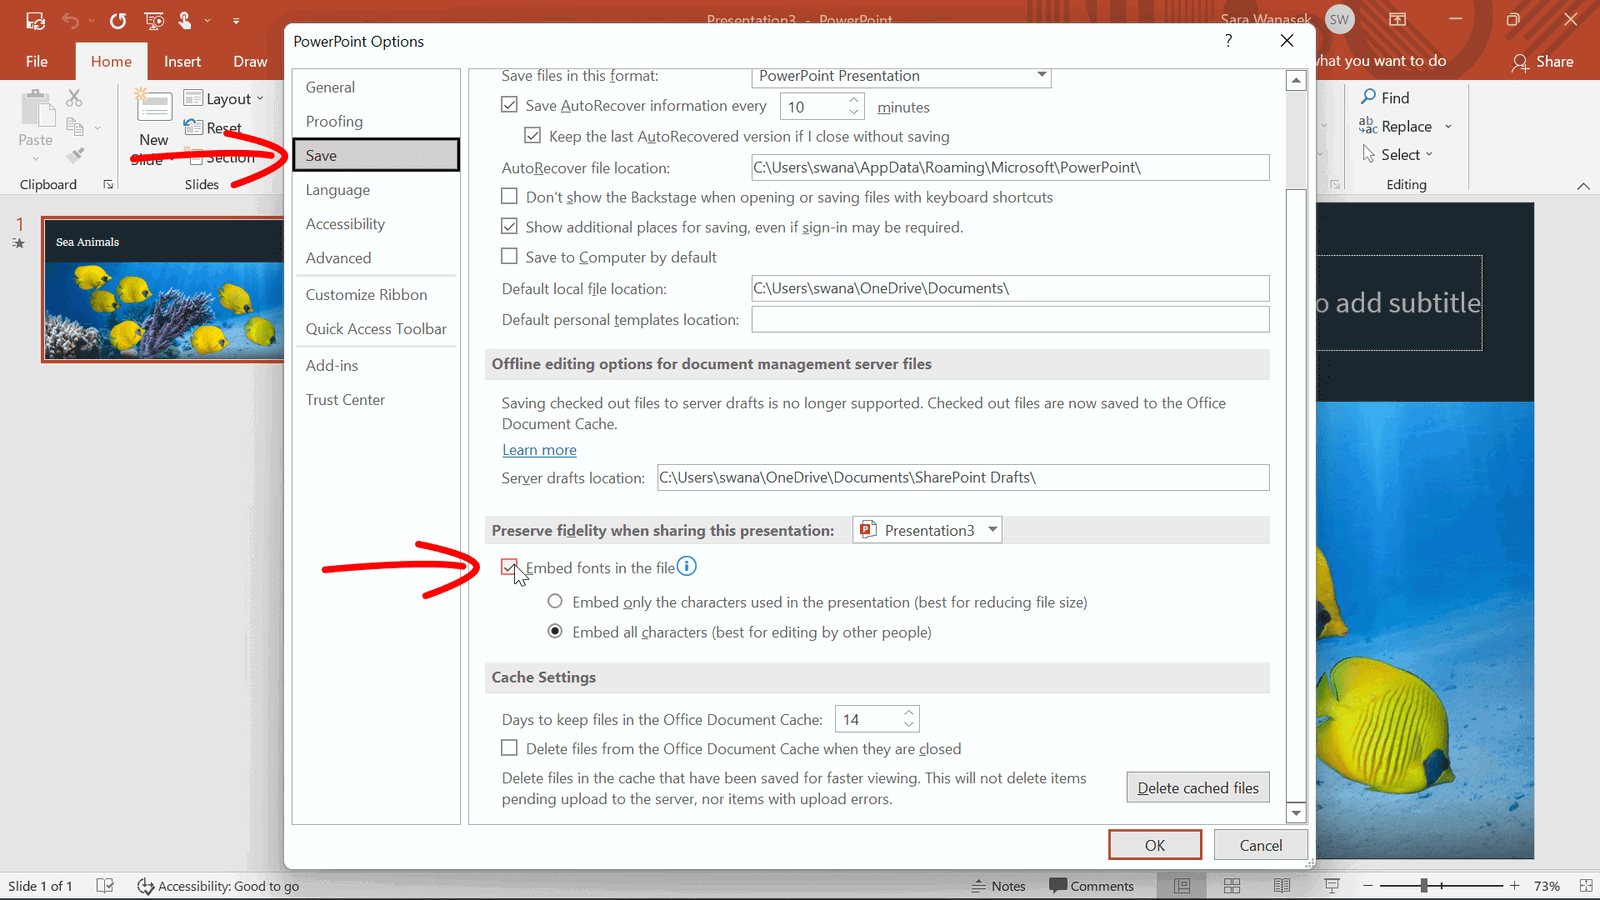
When adding a new font in PowerPoint, ensure that your settings allow for the embedding of fonts. If this setting is not checked, your PowerPoint layout can be disrupted when sharing your slides. To turn on the embedding of fonts, go to File, Options, General, Save Options, and scroll down to check “Allow embedding of fonts.”
Tip #5 Add Engaging Graphics
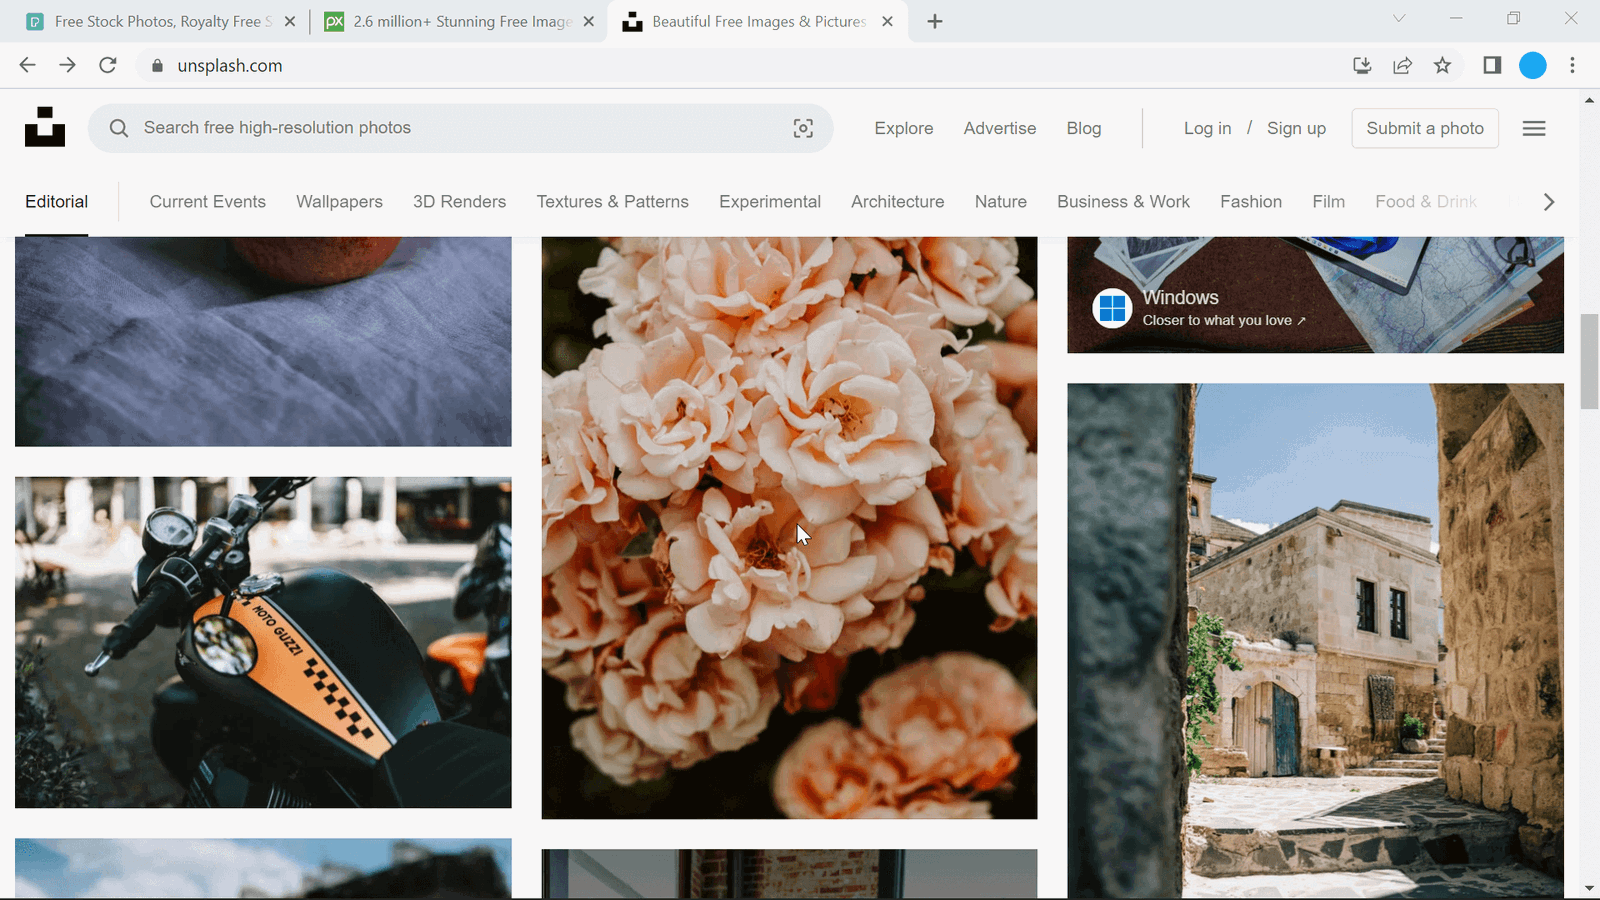
Find the perfect balance of text by adding different graphics to bring visual representation to your slides. Insert images or icons right from PowerPoint, search Google for Creative Commons licensed images, or use a free stock image website to find the perfect visual for your information. Websites like Pexels, Pixabay, and Unsplash offer totally free and copyright-free images. Search for an image on their site, download it, and insert it into your PowerPoint.
In addition to those tools for images, the template tools mentioned in Tip #2 also have a variety of icons and images that can be added to your presentation. When the images are added to your PowerPoint, you can edit them right inside, even remove the background!
Now that we’ve covered tips on creating beautiful and design-professional presentations, I hope you have all the PowerPoint tips and tools you need to easily and quickly create a presentation as if you were a graphic designer! Not only will your students be more engaged with the information on the slides, but perhaps you might deliver the information more confidently and passionately as well! Look good, feel-good right?
Check out more PowerPoint Design & Audience Engagement tips below!
